Weekend Art Project #001
I received a copy of this book for Christmas: The Weekend Artist: Creative Inspiration, Techniques and Simple Projects Designed to Unleash Your Inner Artist by Gerard Smith.
Above you can see the results of my first attempt at creating modern art, following one of the projects in the book. Read on to see what was involved in this project.
Naturally, the first step was a trip to the art shop to buy the necessary materials. Three pre-stretched canvases, brushes and some acrylic paint. The project wouldn’t have got far without these.
I started by painting all of the canvases all over in the lightest colour I planned to use.
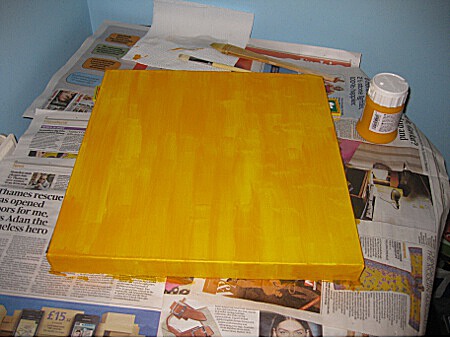
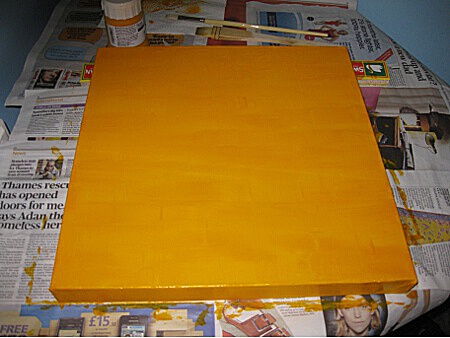
Clearly, the single coat of paint above wasn’t going to be enough.
Neither was a second coat.
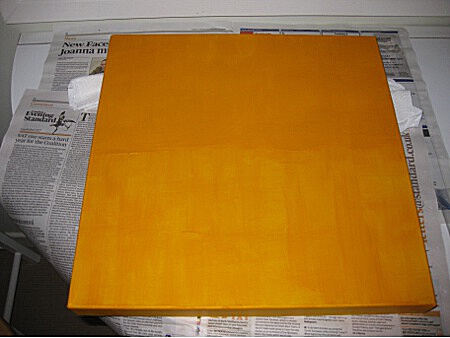
By the third coat I’d finally wised up and just painted the part of the canvas that would actually show the yellow paint. It’s the top third of the canvas in the picture above.
To get the sharp edges between colours, still following the instructions in the book, I used masking tape.
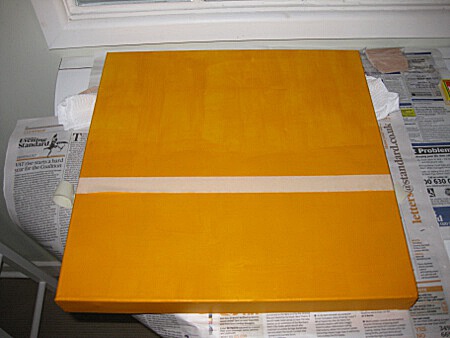
This was the point in the project where making a plan suddenly seemed like a good idea. Right at the very beginning would have been a better bet.
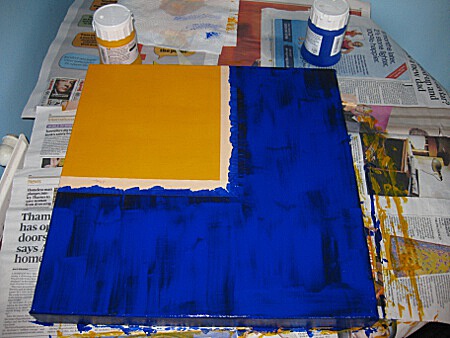
I applied the darkest colour next as the paint tub was labelled “Semi-Transparent”, whereas the middle shade was labelled “Opaque”. This was to hopefully minimise the number of coats of dark blue needed.
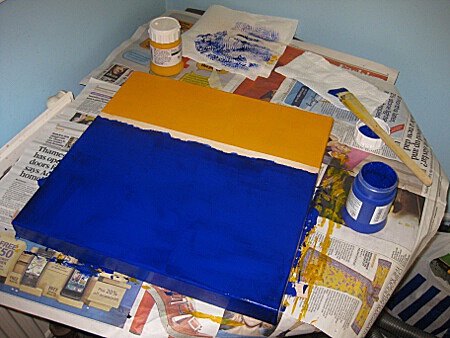
Same as the previous pic but with a second coat of paint applied.
The following picture shows the creative masking tape strategy I had to apply to get the square the right shape. In the book the author deals with this problem by doing the canvases one at a time, applying the paint in a different order for each one. I thought that this might result in the colours not matching properly so I didn’t do this. Had I made my plans earlier I may have spotted the more complicated masking that my approach required and done things the author’s way instead.
With the first two colours complete for each canvas I then had to get creative with masking tape yet again to prepare the canvases to receive the final colour.
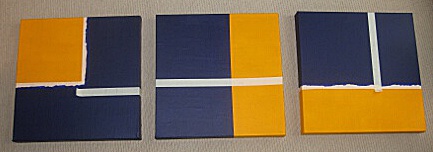
This is how the canvas looked after all three colours had been applied.
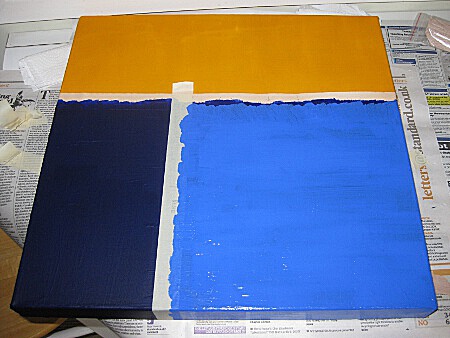
I narrowly escaped disaster at this point when the masking tape lifted up.
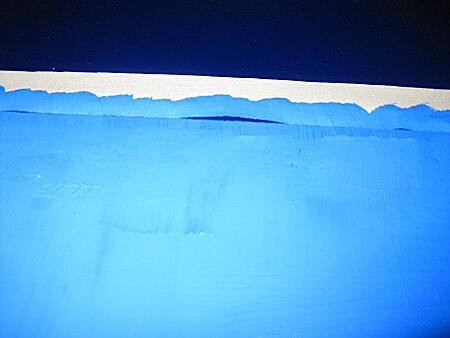
Spotting the problem in time and painting very carefully near the edges sorted this one out.
And then the final moment of truth - removing (carefully!) the masking tape.
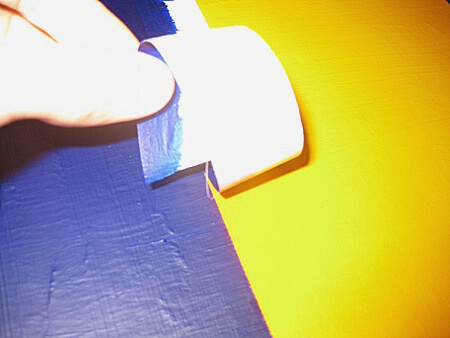
Very satisfying to see no bleeding of paint under the tape and absolutely no touching up required whatsoever.
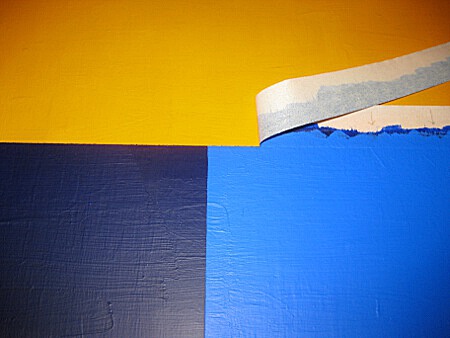
All that was left was to hang the finished work.
Marking a place on the back of the canvas to screw the picture hooks.
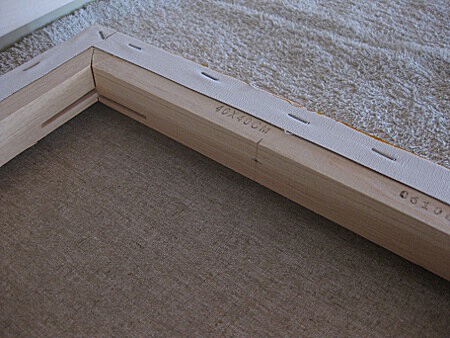
And one final problem to solve - which way up should I hang the canvases?
or this?
Although the book is called The Weekend Artist, this project took me considerably longer than a single weekend to complete. Acrylic paint is very quick to dry compared to, say, oil paint, but still takes its time. There were up to three coats of each colour applied, plus a follow-up trip to the art shop to buy the hanging kit.
However, I’m delighted with the results and look forward to attempting some more projects from the book soon. This project reminded me a lot of some paintings I saw in Tate Britain by Marc Vaux. There’s hope for me yet!

