Midi Fighter
Finally finished - my DIY Midi Fighter project!
The Midi Fighter is a MIDI controller originally designed, and still sold by a company called DJ Techtools. It’s meant to be used with music software for playing instruments like drums, or triggering one-off samples.
Mine’s a DIY version that’s lacking some of the features of the current version of the product but is relatively true to the original.
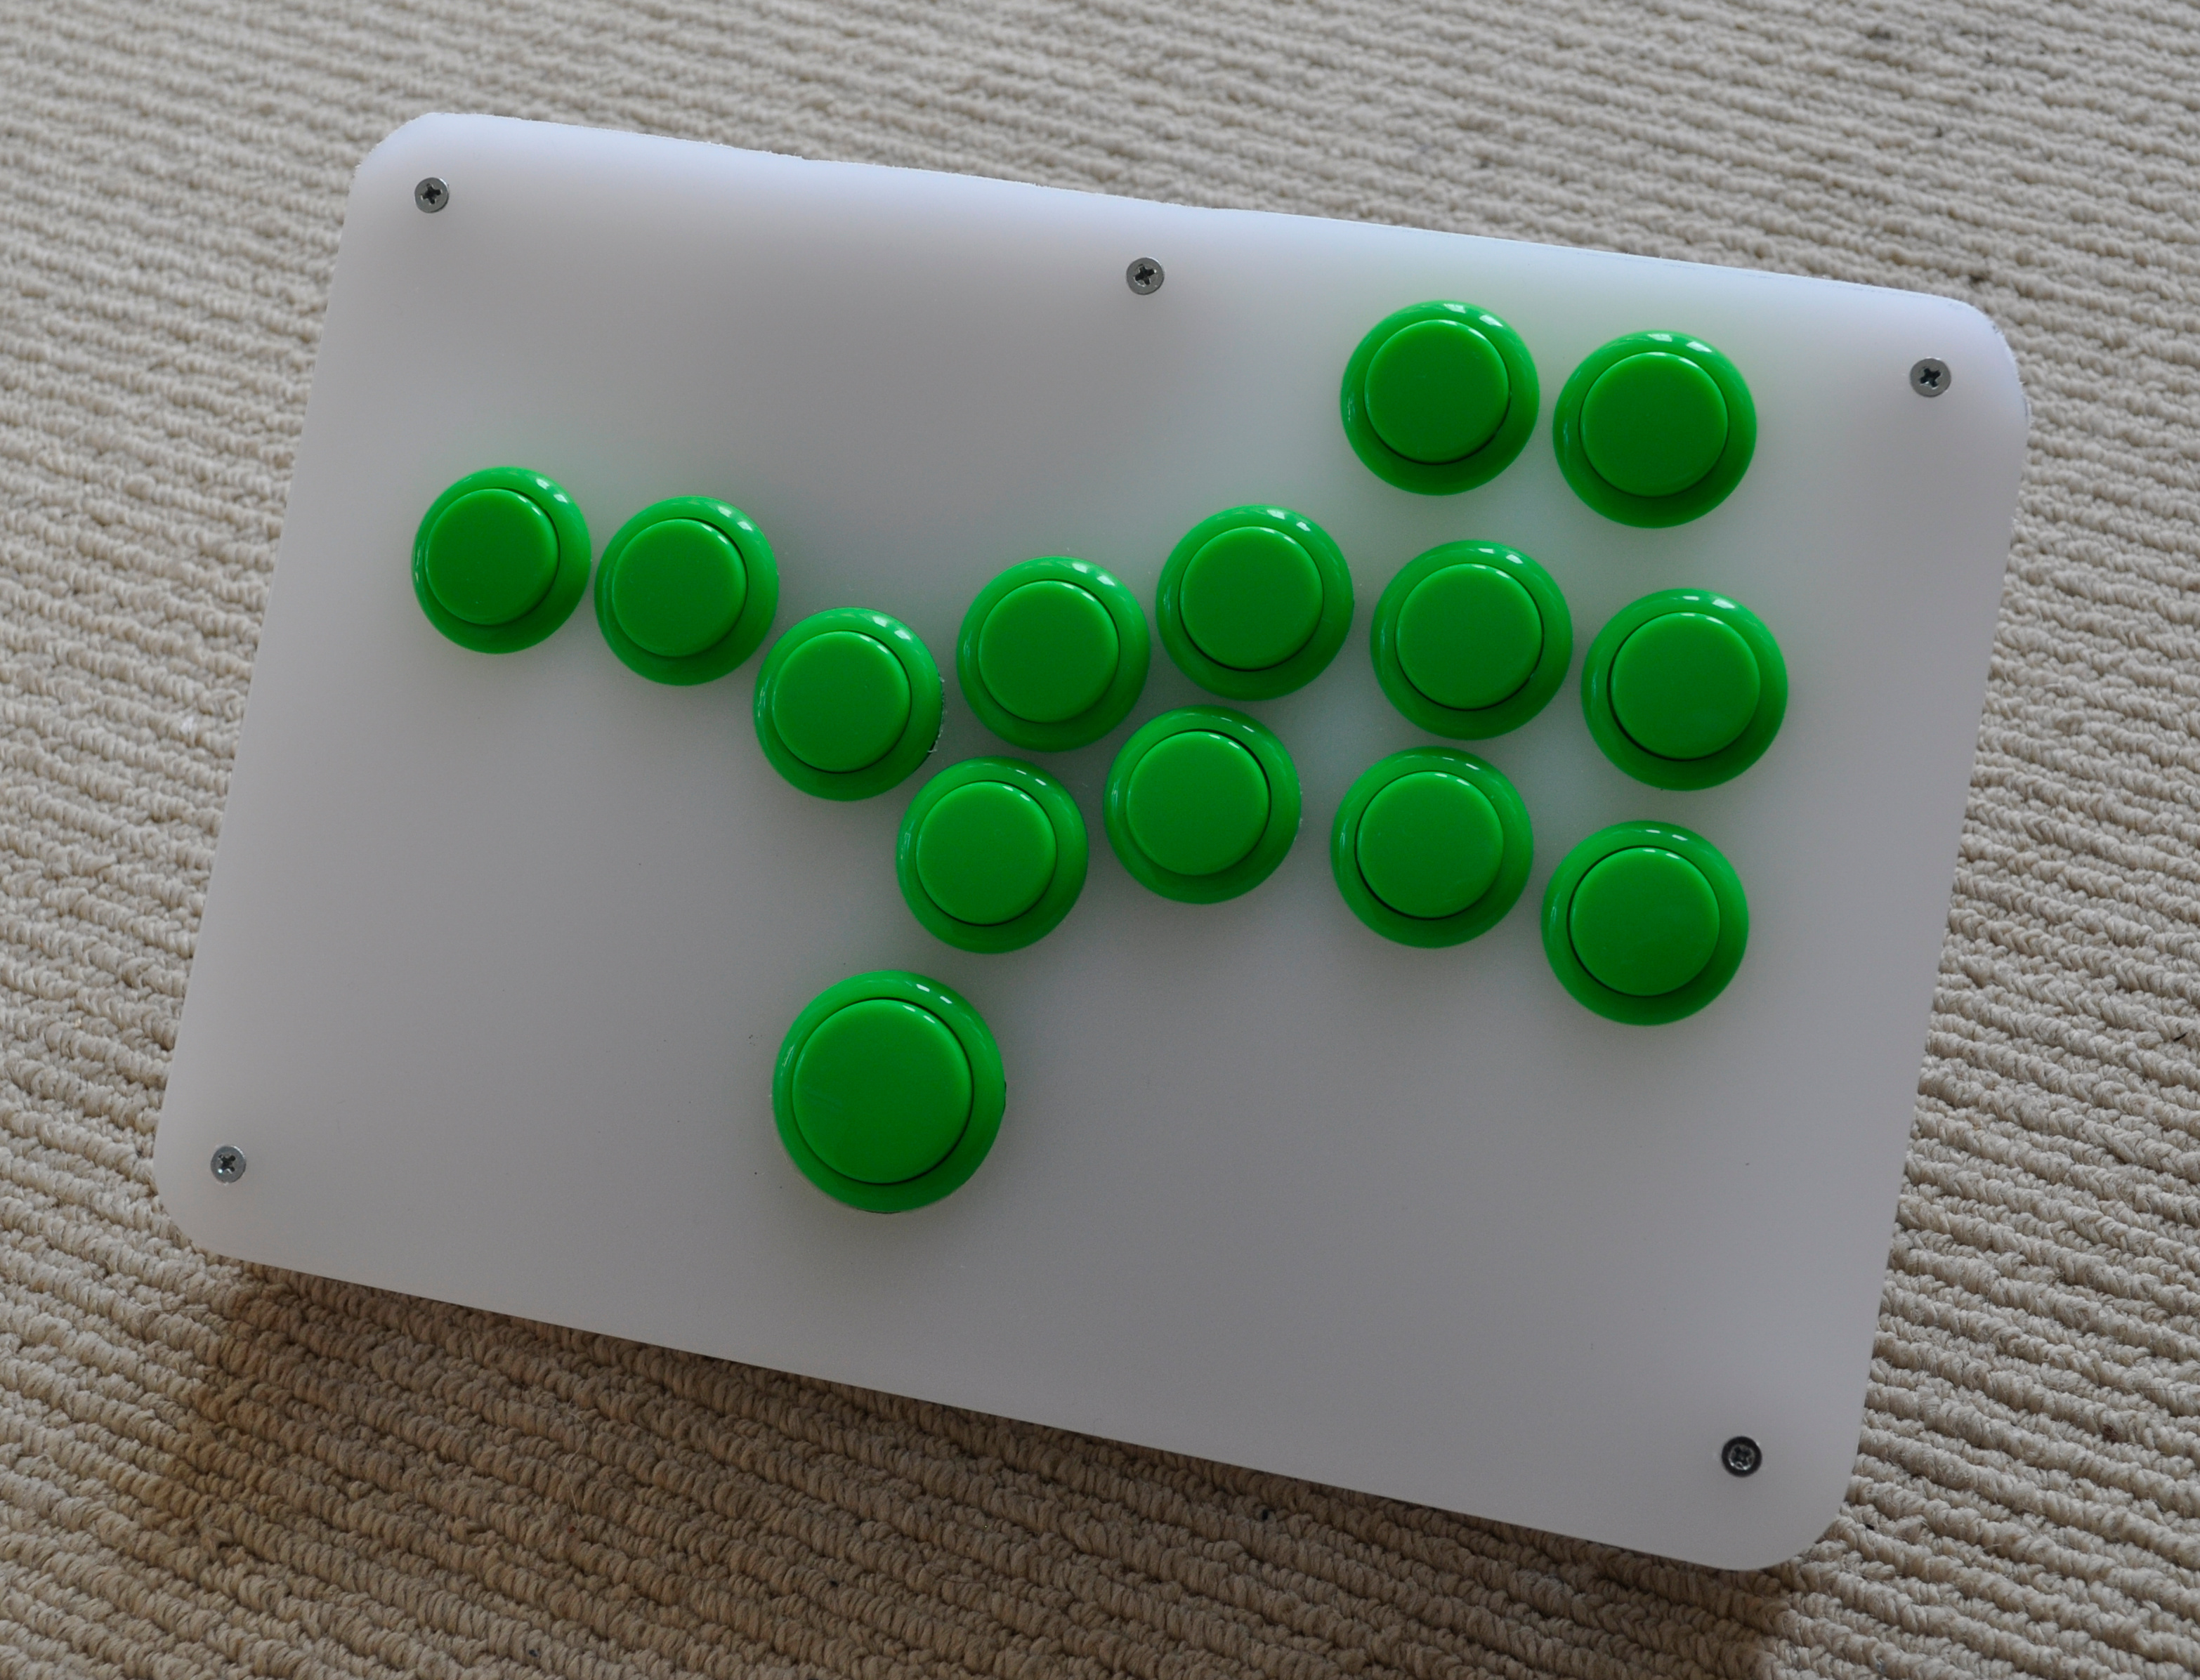
I started this project a couple of years ago after completing my most recent Chopbox Junior fighting game controller. My “Chop-“ controllers are still going strong, with my original Tesco Chop Box from 2020 having had a recent upgrade to give it two extra buttons courtesy of a Raspberry Pi Pico RP2040 controller replacement running the GP2040-CE gamepad firmware.
It’s never been easier to get into making custom controllers, whether that be for gaming or for music software control. RP2040-Zero micro controllers are less than two pounds each from China; and dedicated individuals and enthusiasts have put together really easy to use libraries that you can use to program your controller. The hardest part of the project is making a suitable enclosure, and connecting all the wires together.
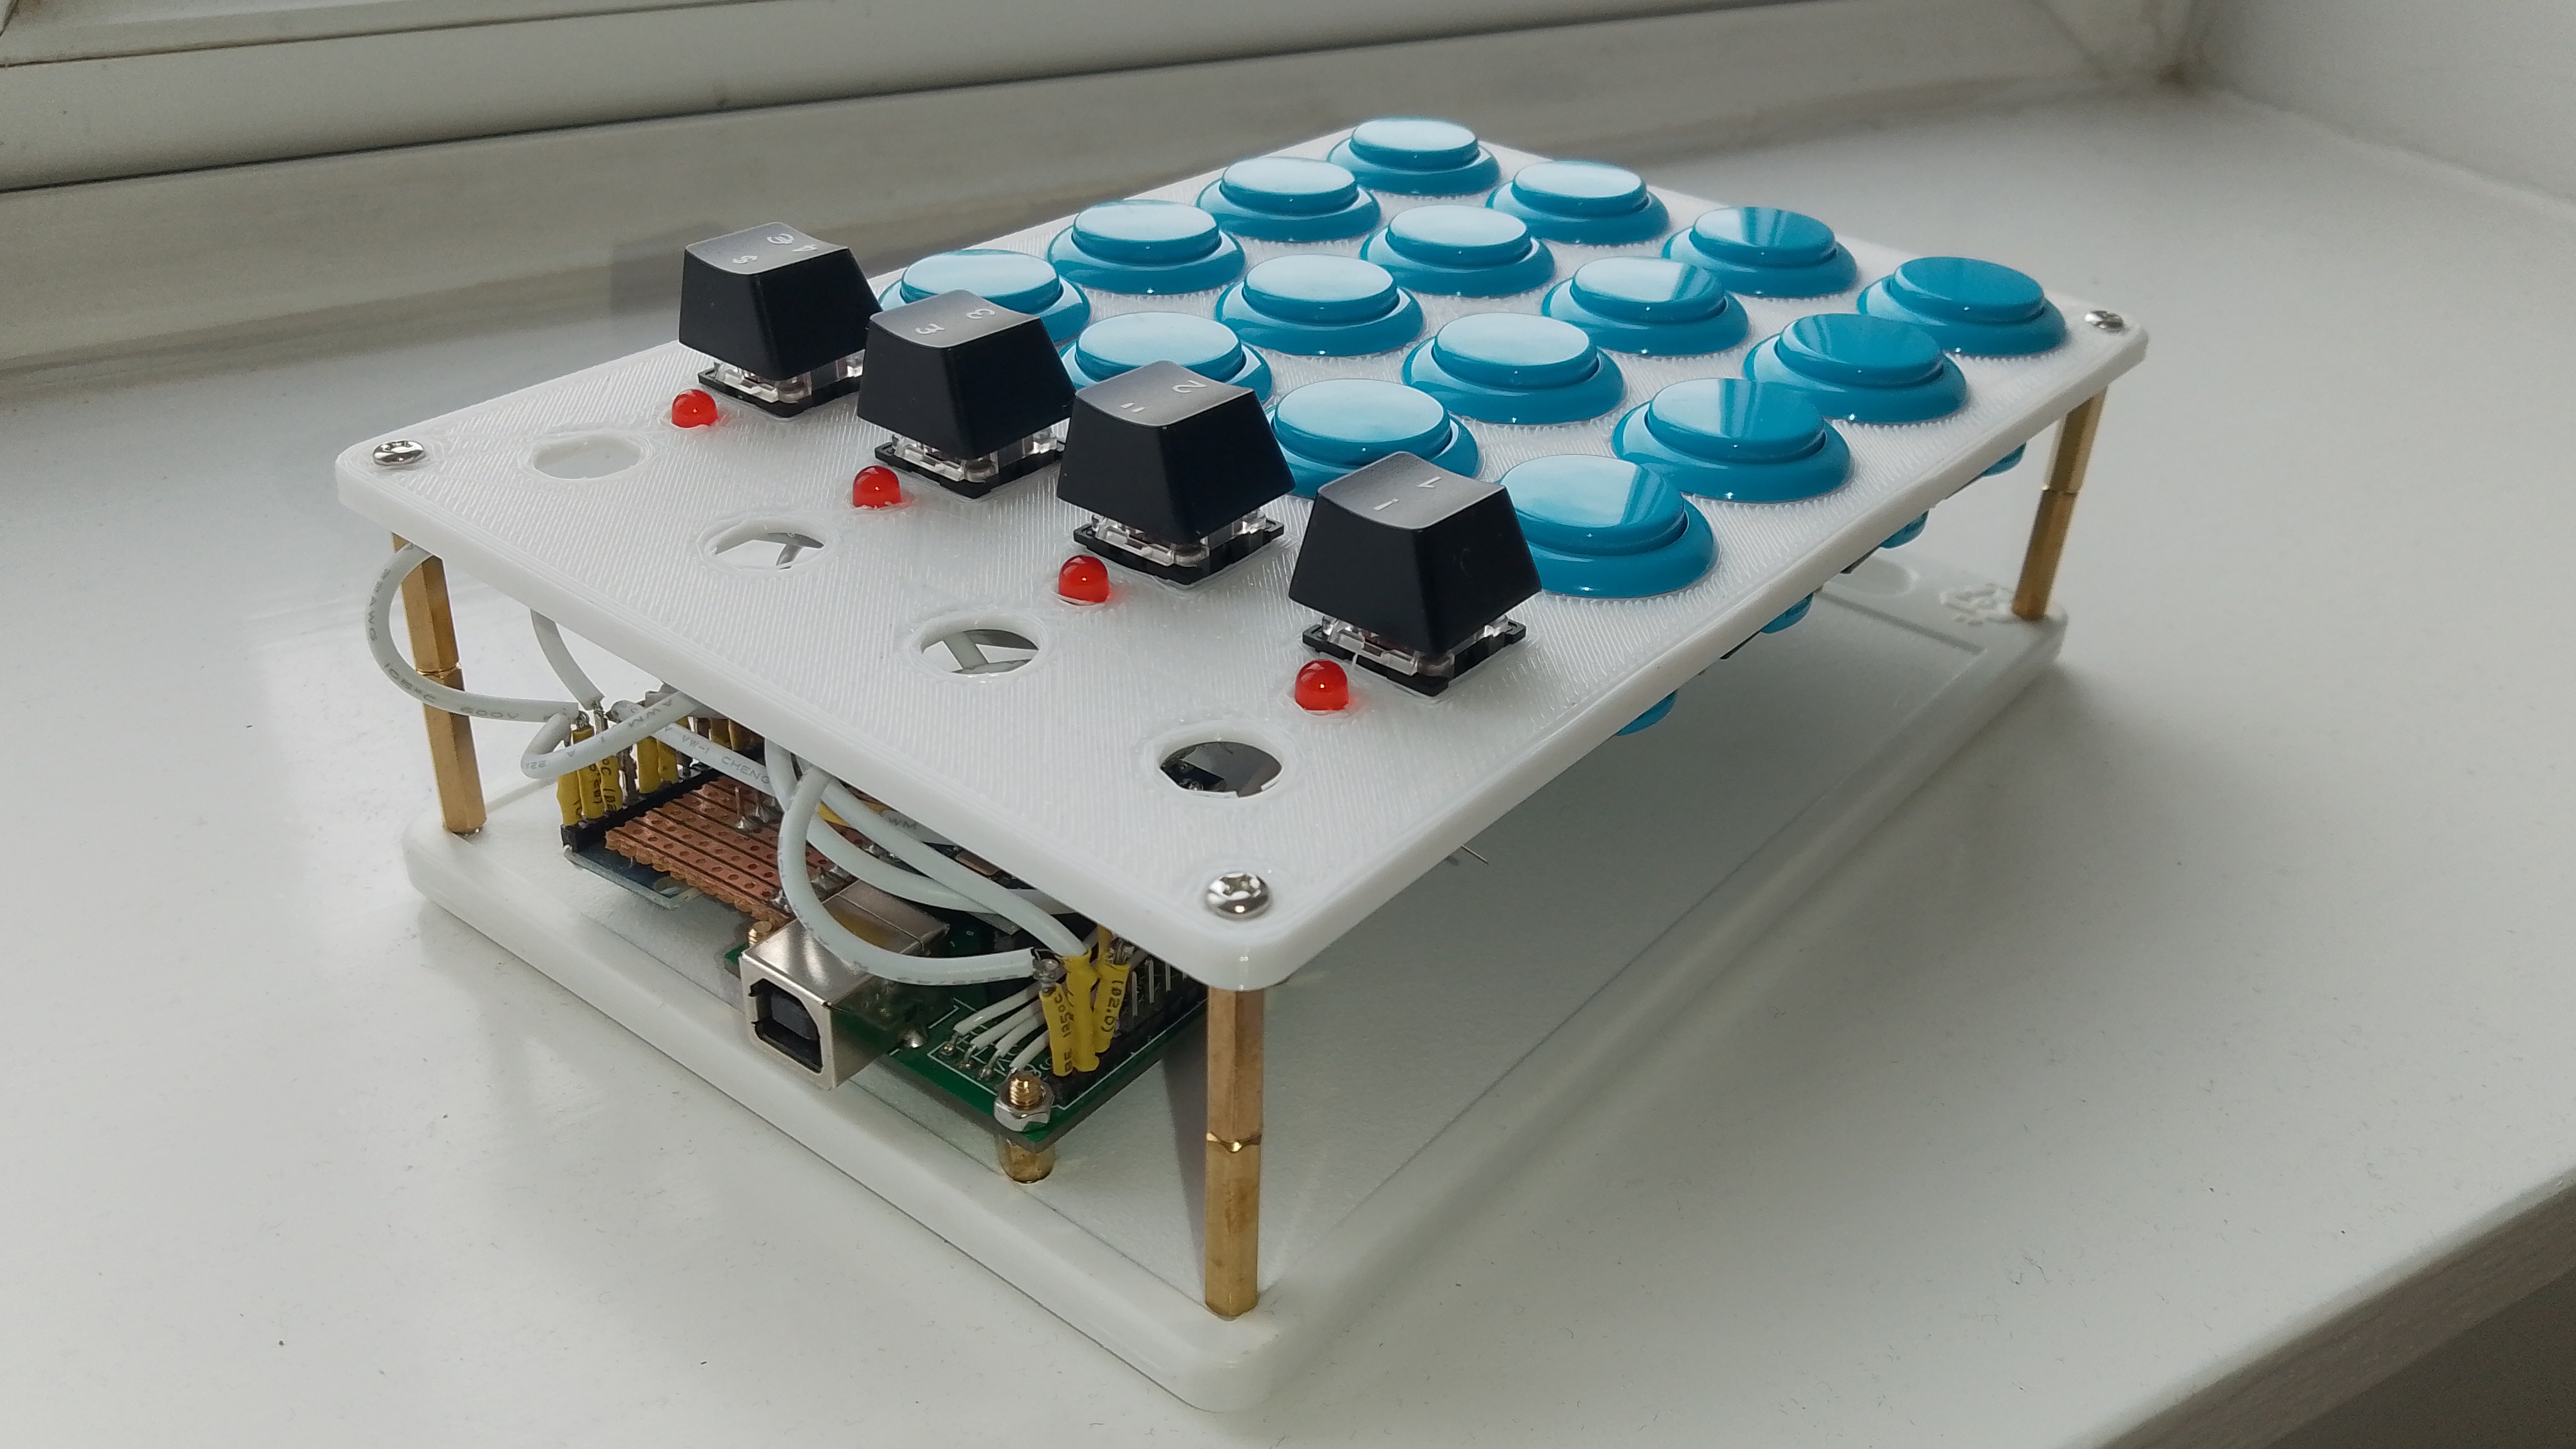
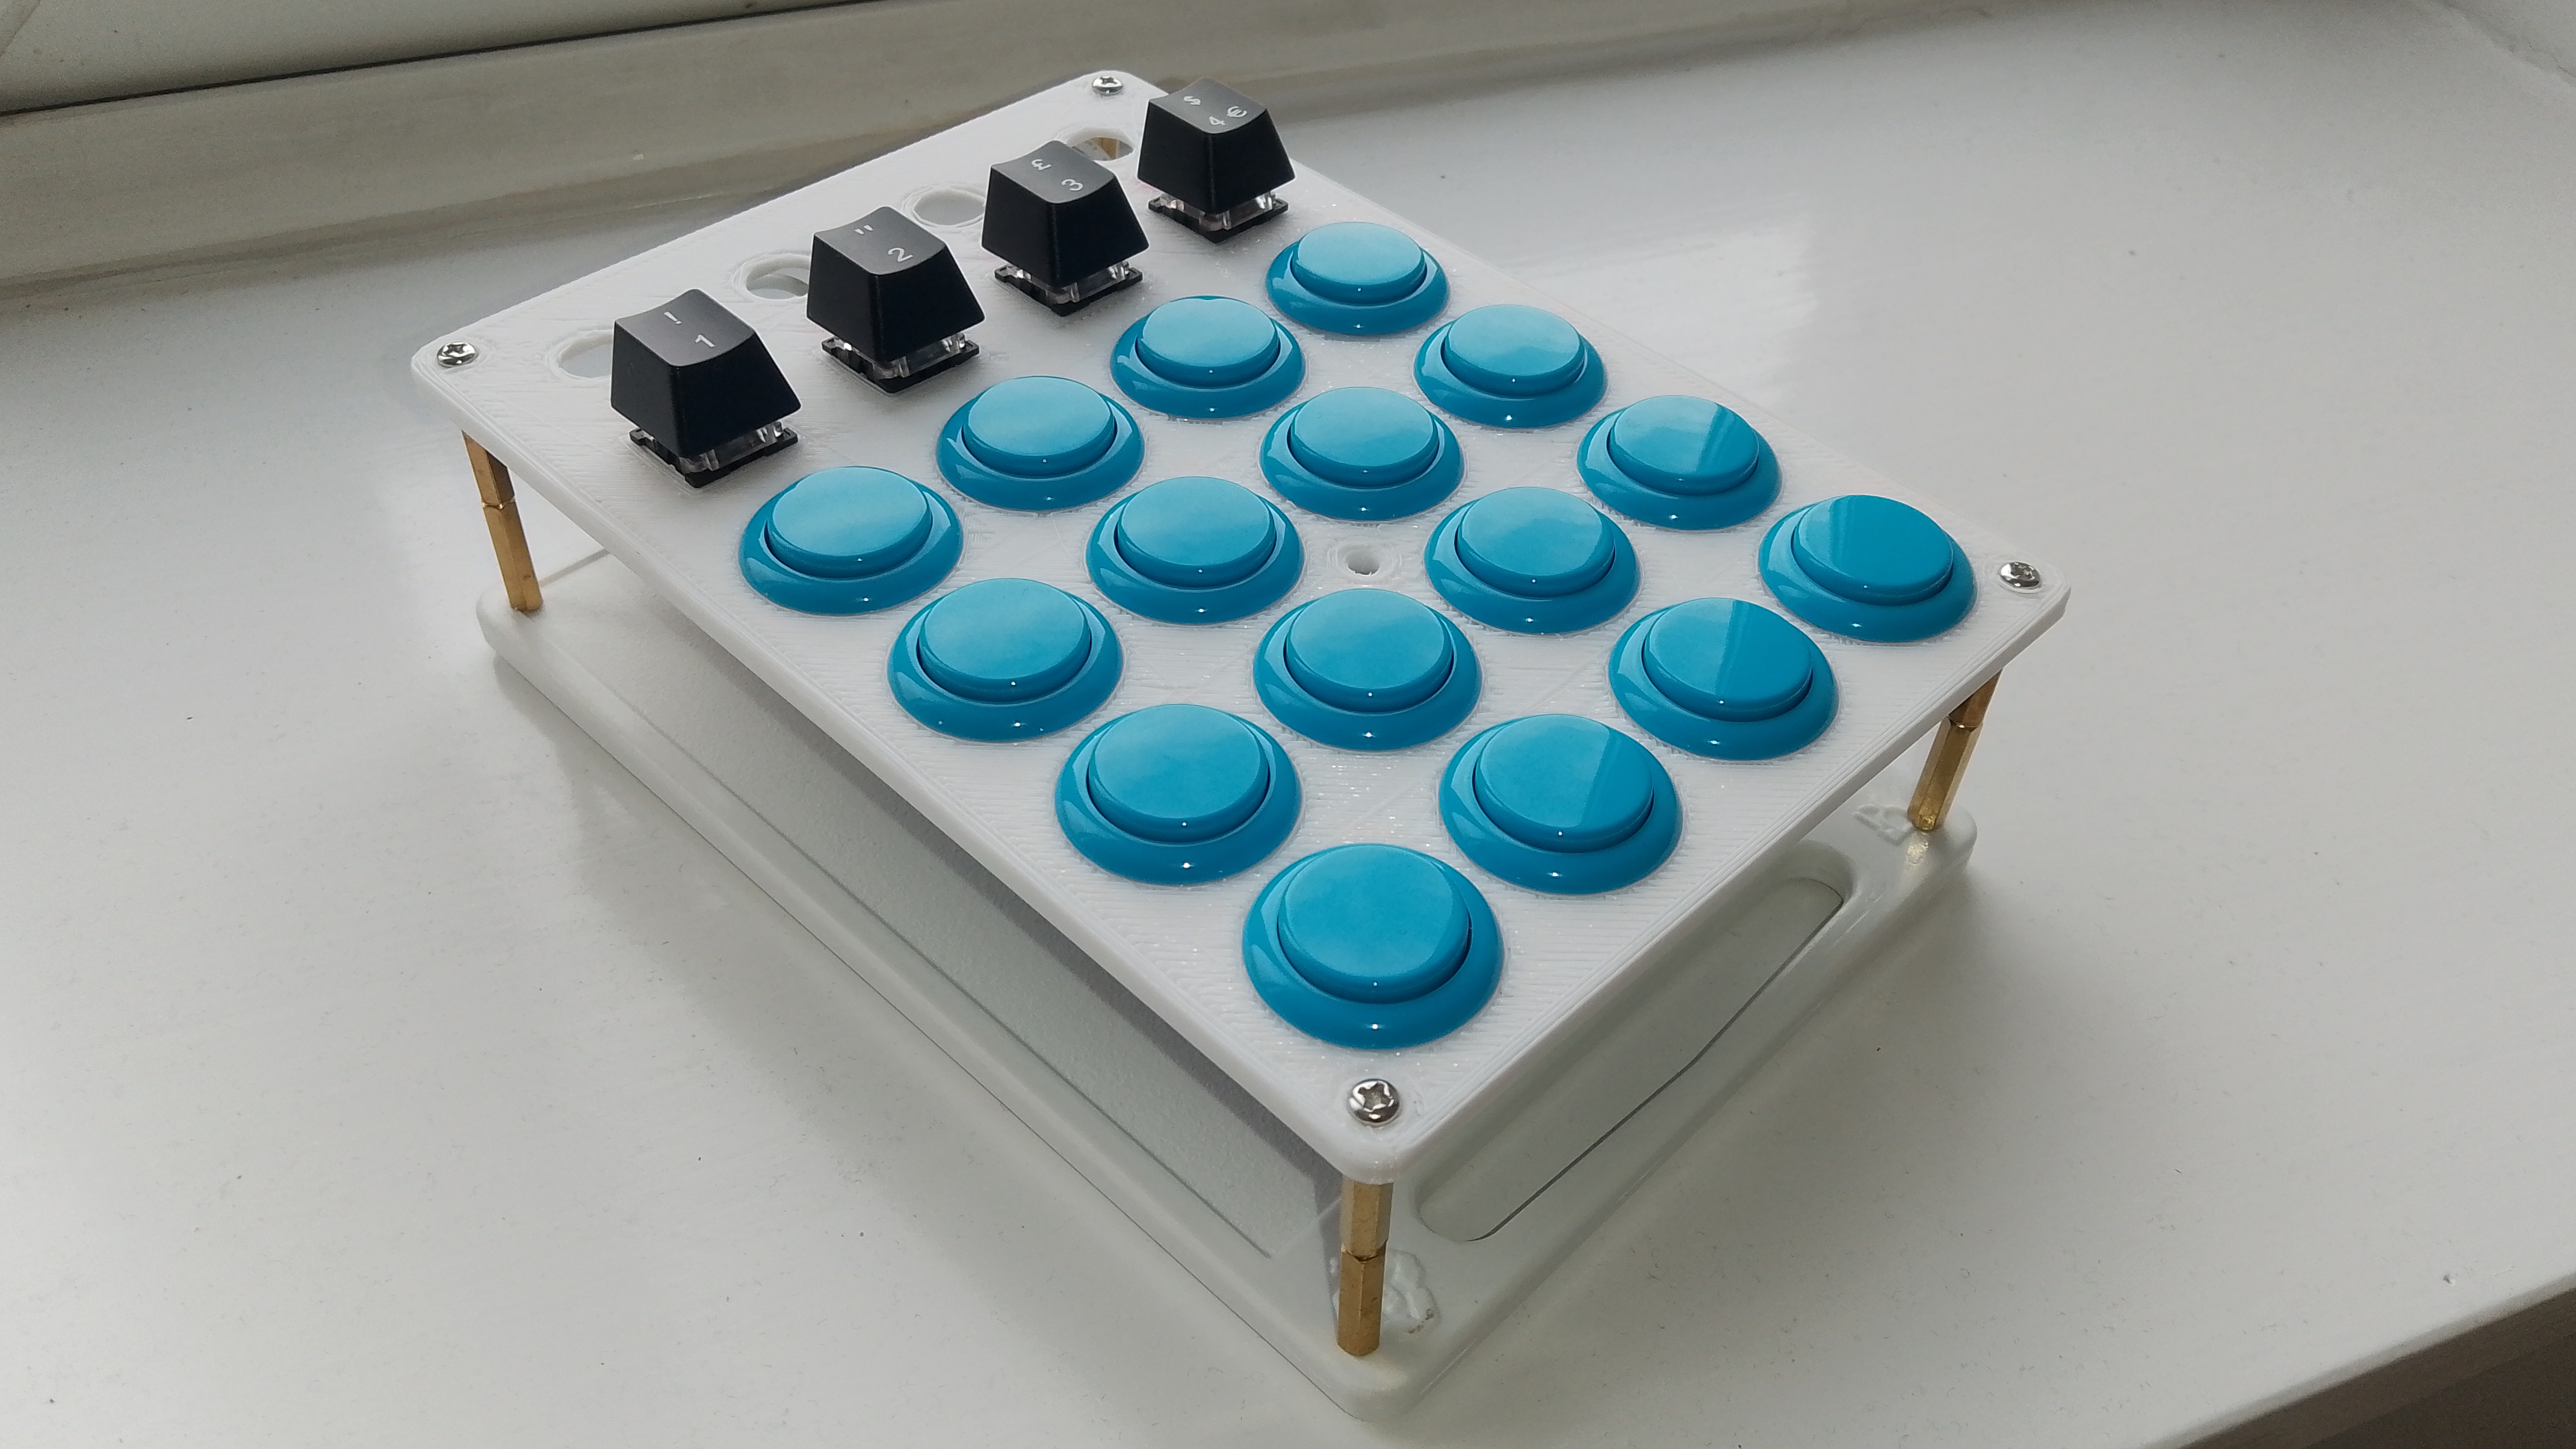
Unfortunately the Midi Fighter seemed to spend forever sitting around unfinished in a box. I had a rough plan for the case design, but the wiring was getting a bit complicated, so I had put off dealing with it. I’d wanted to keep the design compact, so I opted to put the buttons on the top layer and the controller beneath them.
Normally I like to attach the microcontroller to the same surface as the buttons. This means the case has to be a little larger (although it can now be shallower), but the main benefit is that it makes wiring easier having the board fixed in place relative to the buttons. It also means you can take the controller apart for maintenance without having to bend, stretch, or pull wires.
I had intended to have four potentiometers and a row of four LEDs but in order to get the project finished decided to remove them. The LEDs are still there, but not connected, and you can see the holes where the potentiometers were meant to go.
It wouldn’t be a “Chop-“ project without a chopping board, and as luck would have it, I had a spare mini chopping board in my kitchen that was the exact size of the top plate. I don’t remember whether or not I deliberately designed it with that board in mind. One of the 3D printed legs I’d made had broken while the project was in storage, so instead I went with brass standoffs joined together to get them tall enough.
The thing that most inspired me to finish this project was finding the excellent Control Surface Library for Arduino, specially made for making MIDI controllers. It took a little while to get used to how it works, but was way simpler than rolling my own code, and the end result is solid and reliable. I was able to program the Midi Fighter to behave exactly as described in the official Midi Fighter 3D User Guide.