CodinGame with Visual C++
I’ve been enjoying some of the challenges and contests at www.codingame.com recently.
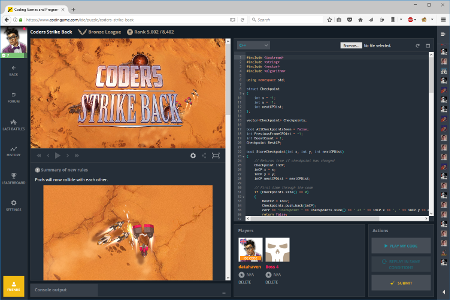
There was one thing about the site that frustrated me, which was that their web IDE only supports code in a single file. This isn’t such an issue for small problems, but as your code gets more elaborate it becomes more and more of a nuisance finding things and moving around in the file.
While they provide some nice features to help with that, such as code folding, my preference is to write regular C++ code, complete with header files, and to do that in an editor of my choosing.
So, here’s how to set up Microsoft Visual Studio for doing proper C++ development for CodinGame.
This method is slightly awkward to use and requires a little bit of thought when developing, but it was quick to set up, uses standard windows tools, and would be easier to develop further if you chose.
The first thing to do is to configure your CodinGame environment to allow the use of an external text editor.
If you use Chrome, then you’ll need to follow the instructions here to use CodinGame Sync.
I’m using Firefox and installed the GreaseMonkey plugin detailed here.
These plugins will allow you to edit your code in a single text file, then press a single button to re-load that file into the CodinGame IDE.
Next, set up a normal C++ project in Visual Studio. You’ll probably want to create a Console project, but unless you’re planning to run it from the IDE, too, that may not matter.
You will also need to create a small batch file to “build” your project. There are two things you need this file to do - Assemble your C++ project files into a single file, and also to remove any extra lines that you don’t want in the final file.
The second step is the key to getting this to work. The issue is that your C++ files will still need to work when joined together as a single file. Unfortunately if you just join all the files together one after the other you’re likely to create problems with having multiple #includes and/or #including files in the wrong order.
My solution to this is to have a main.h header file that #includes all of the other .h files I’ve written. Each of those #include lines is marked with a comment to tell the build script to remove that line:
// Includes below here should be added to the BuildCodinGameFile.bat script
// They will be replaced by the actual files in the final file for the IDE
#include "Vector2.h" // TAG_REMOVE
#include "HexGrid.h" // TAG_REMOVE
#include "Entity.h" // TAG_REMOVE
...
As the comment says, those includes will be replaced in the output file with the actual file content. The expanded #includes will be followed by the .cpp files.
When writing your code you just need to tag any #include lines in the rest of your source with “// TAG_REMOVE” to tell the build script to filter out those lines.
Alternatively, instead of “TAG_REMOVE”, you could use the expression “^#include” to directly remove #include lines. I didn’t do this as I wasn’t sure whether or not there would be other lines I wanted to remove. For example #pragma directives, although it turns out you can leave those in. You also might want to keep some of your #includes!
This is what my build script looks like:
echo // Adrian Dale - CodinGame > IDE_code_file.txt
findstr /V TAG_REMOVE main.h » IDE_code_file.txt findstr /V TAG_REMOVE Vector2.h » IDE_code_file.txt findstr /V TAG_REMOVE HexGrid.h » IDE_code_file.txt findstr /V TAG_REMOVE Entity.h » IDE_code_file.txt …
findstr /V TAG_REMOVE HexGrid.cpp » IDE_code_file.txt findstr /V TAG_REMOVE Entity.cpp » IDE_code_file.txt findstr /V TAG_REMOVE main.cpp » IDE_code_file.txt </code>
You could probably set up something more sophisticated to do this, but I found that it was easy enough to just update the batch file when I added new files to the Visual Studio project. “findstr” is built into Windows, which is why I used it, rather than “grep”, which would be fine for Linux based systems.
Finally you can add a Post Build Step to your Visual Studio Project to run your build script when you hit Compile.
I’ve uploaded a complete project example here.