Tesco Chopstick
Once I came up with the name, I had to make this!

This project is the somewhat obvious evolution of my Tesco Chop Box. It is the exact same software, hardware and case design, but using a stick and 30mm buttons, instead of the Chop Box’s 24mm buttons. If you want more info on how the electronics work, and how the case is designed, there is a much better guide in that article.
I already had a 3D printed fightstick, which I made using the components from this project.
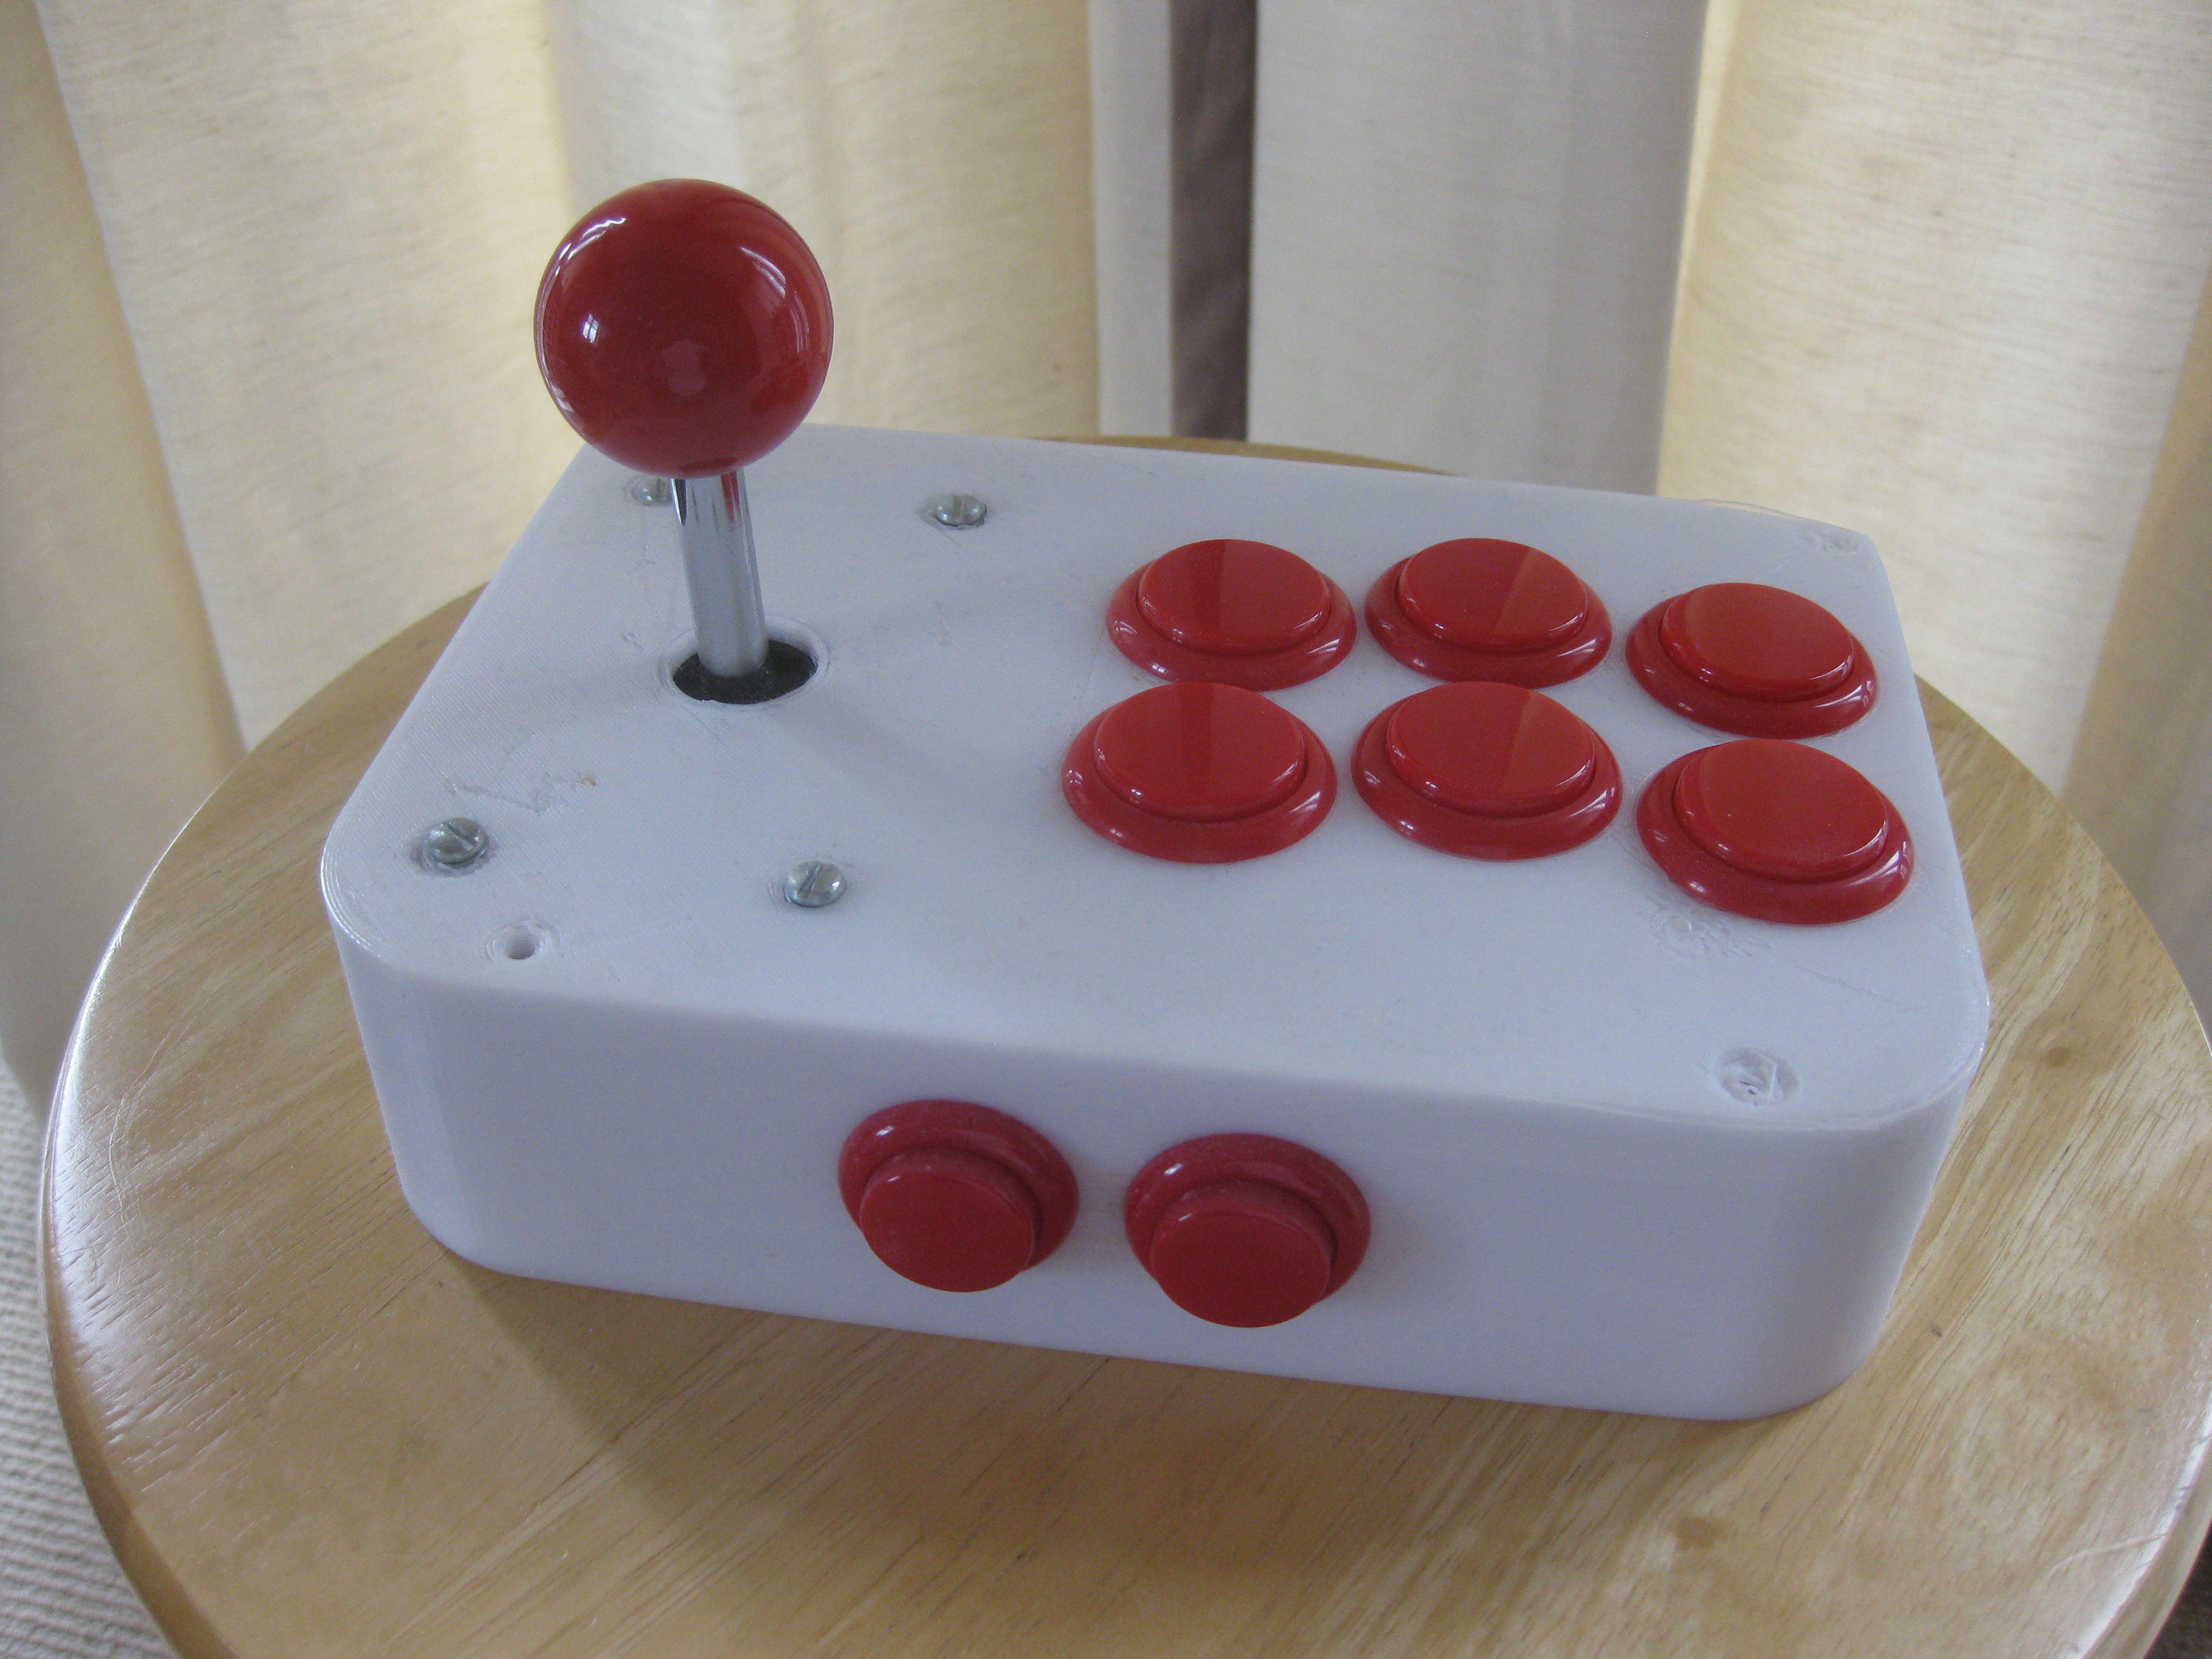
It’s this one if you want to print your own. I found it very cramped to use, with nowhere to rest my palms. I used a cheap Generic USB Joystick Controller from ebay, which doesn’t work well with many games, and also came with a horrible cheap joystick with way too much play in the stick.
On the bright side, I had purchased some decent Sanwa 30mm buttons to try out in it, so I only had to buy two more buttons to make a full size eight button controller. And a decent stick, of course! I went for the popular Sanwa JLF-TP-8YT
Using more expensive parts means this is no longer a low budget project. However, compared to the cost of purchasing an equivalent stick ready made, you’re still saving a lot of money. The case costs under £5, for two chopping boards, M3 nuts and bolts and some 3D printer filament. Where I really save is by making my own controller board.
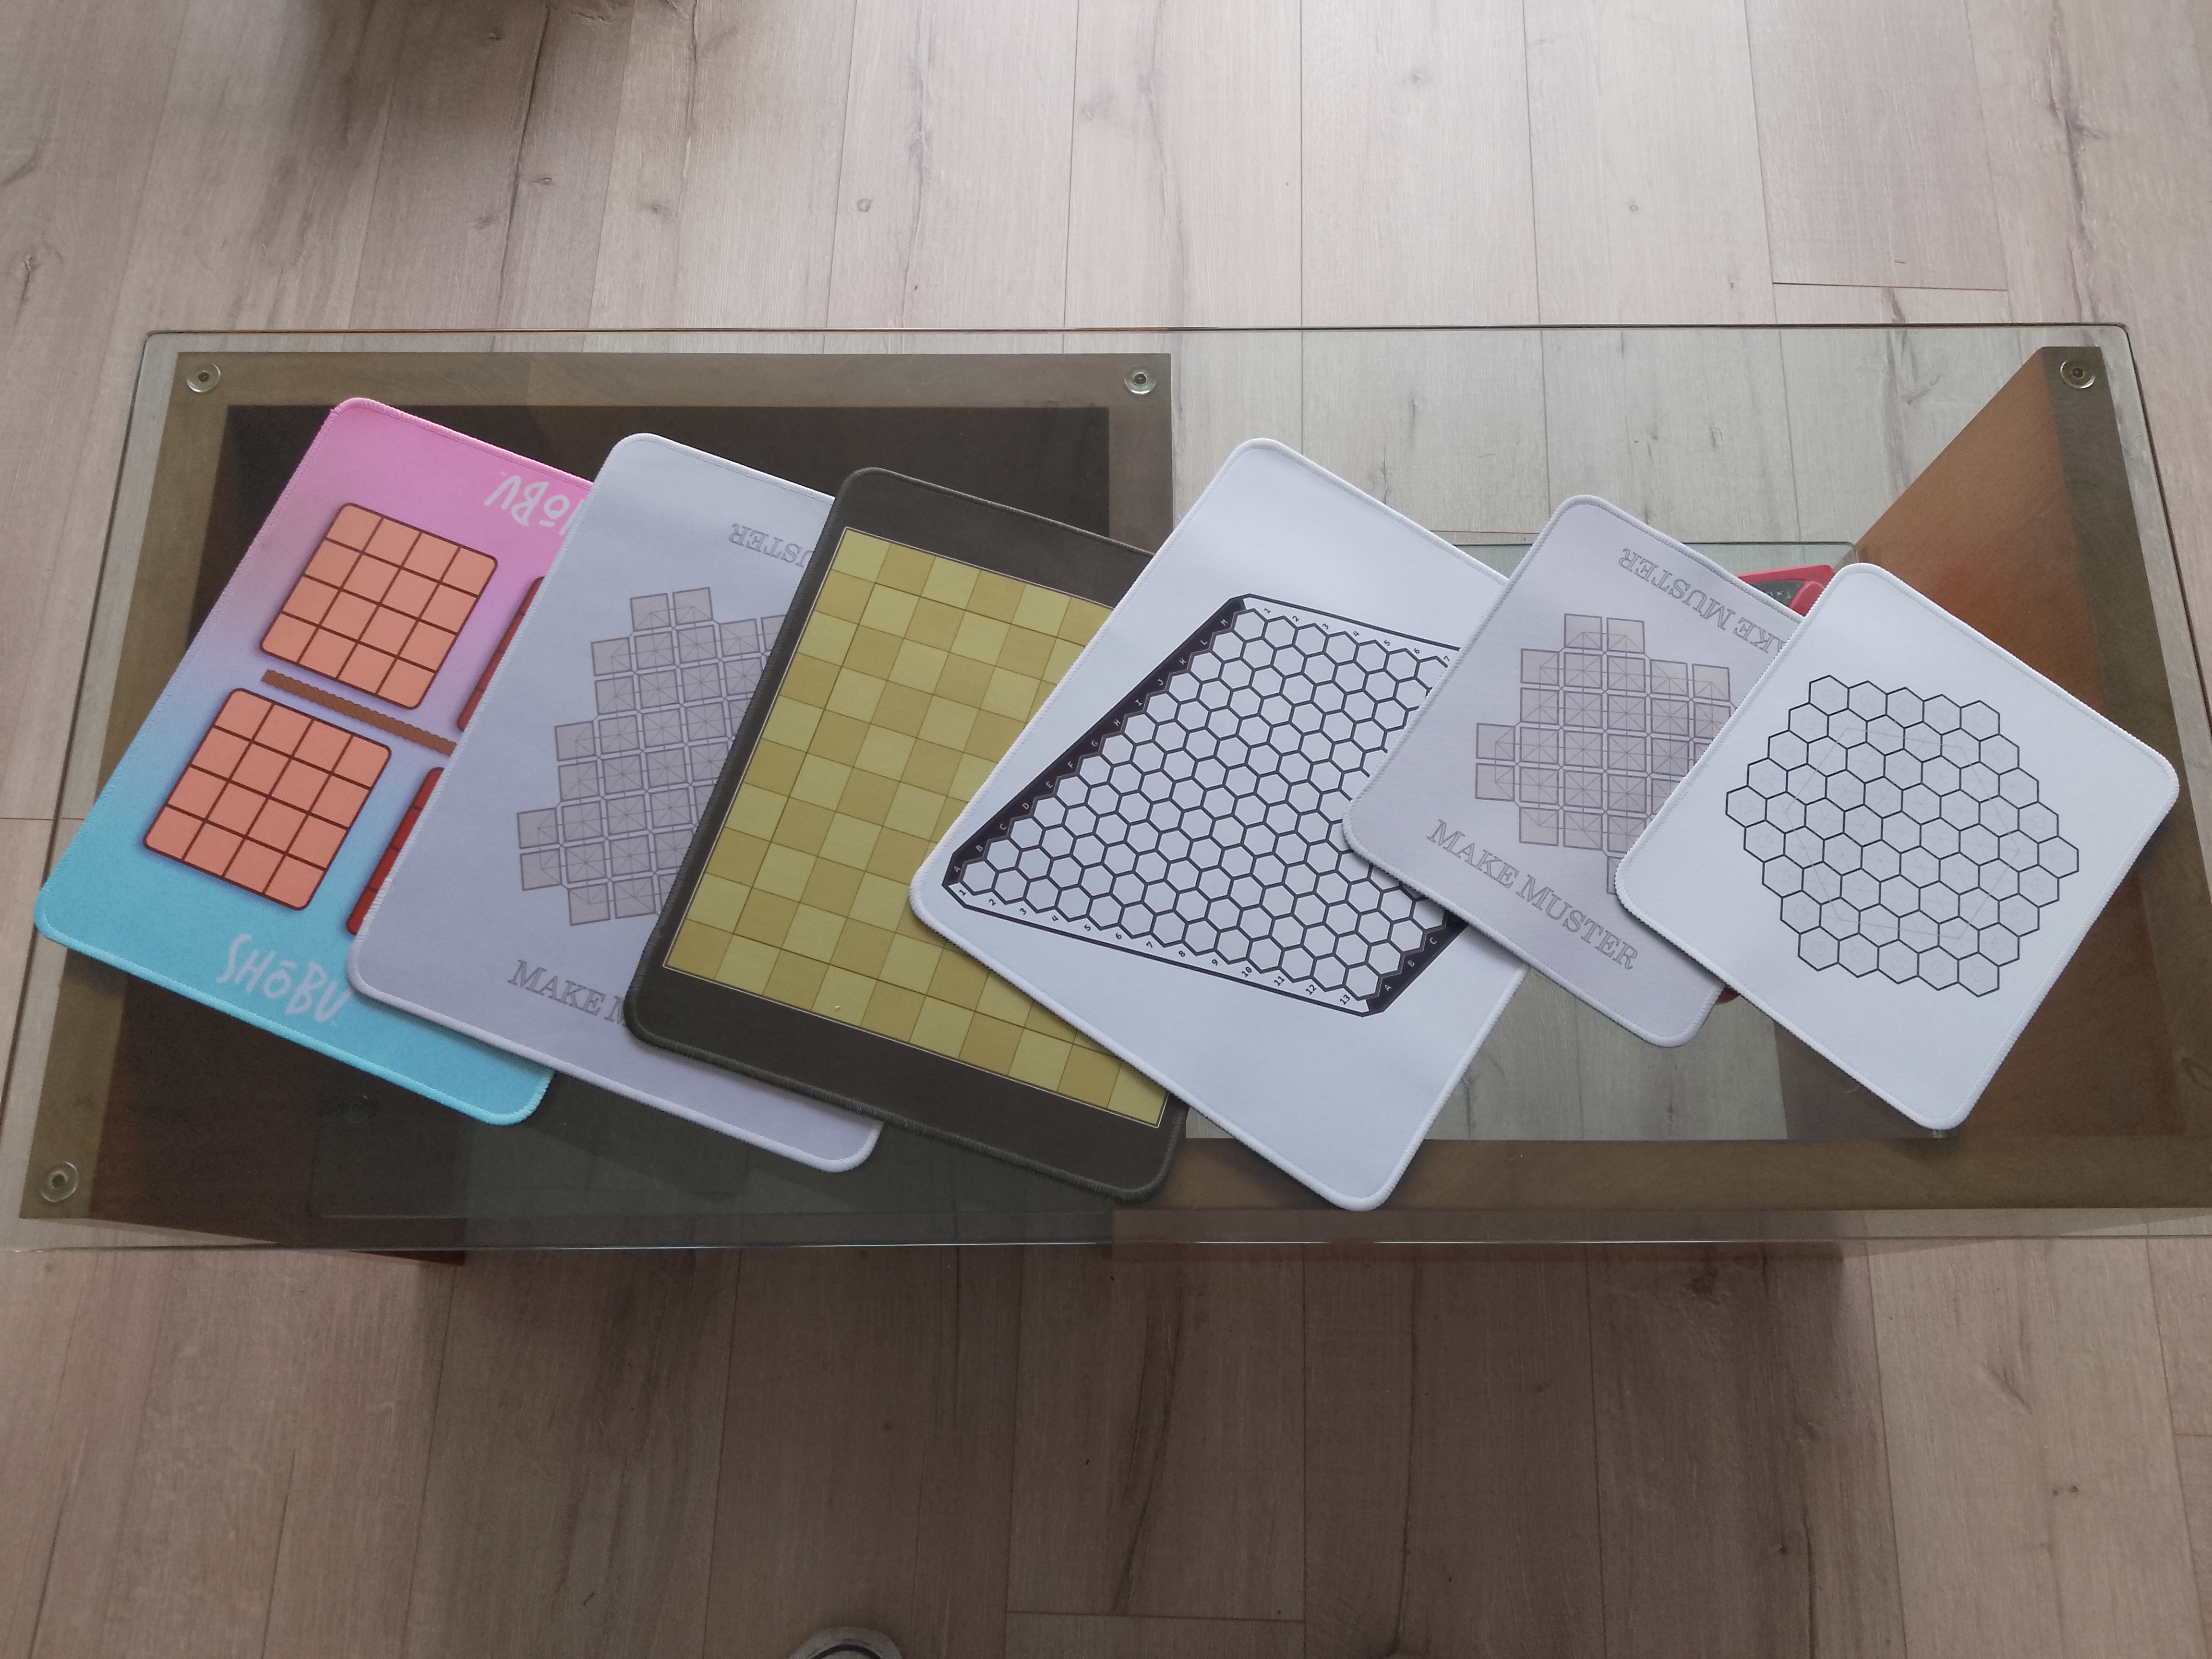
The other main benefit of this project is that I can layout the buttons in a style that fits my hand.
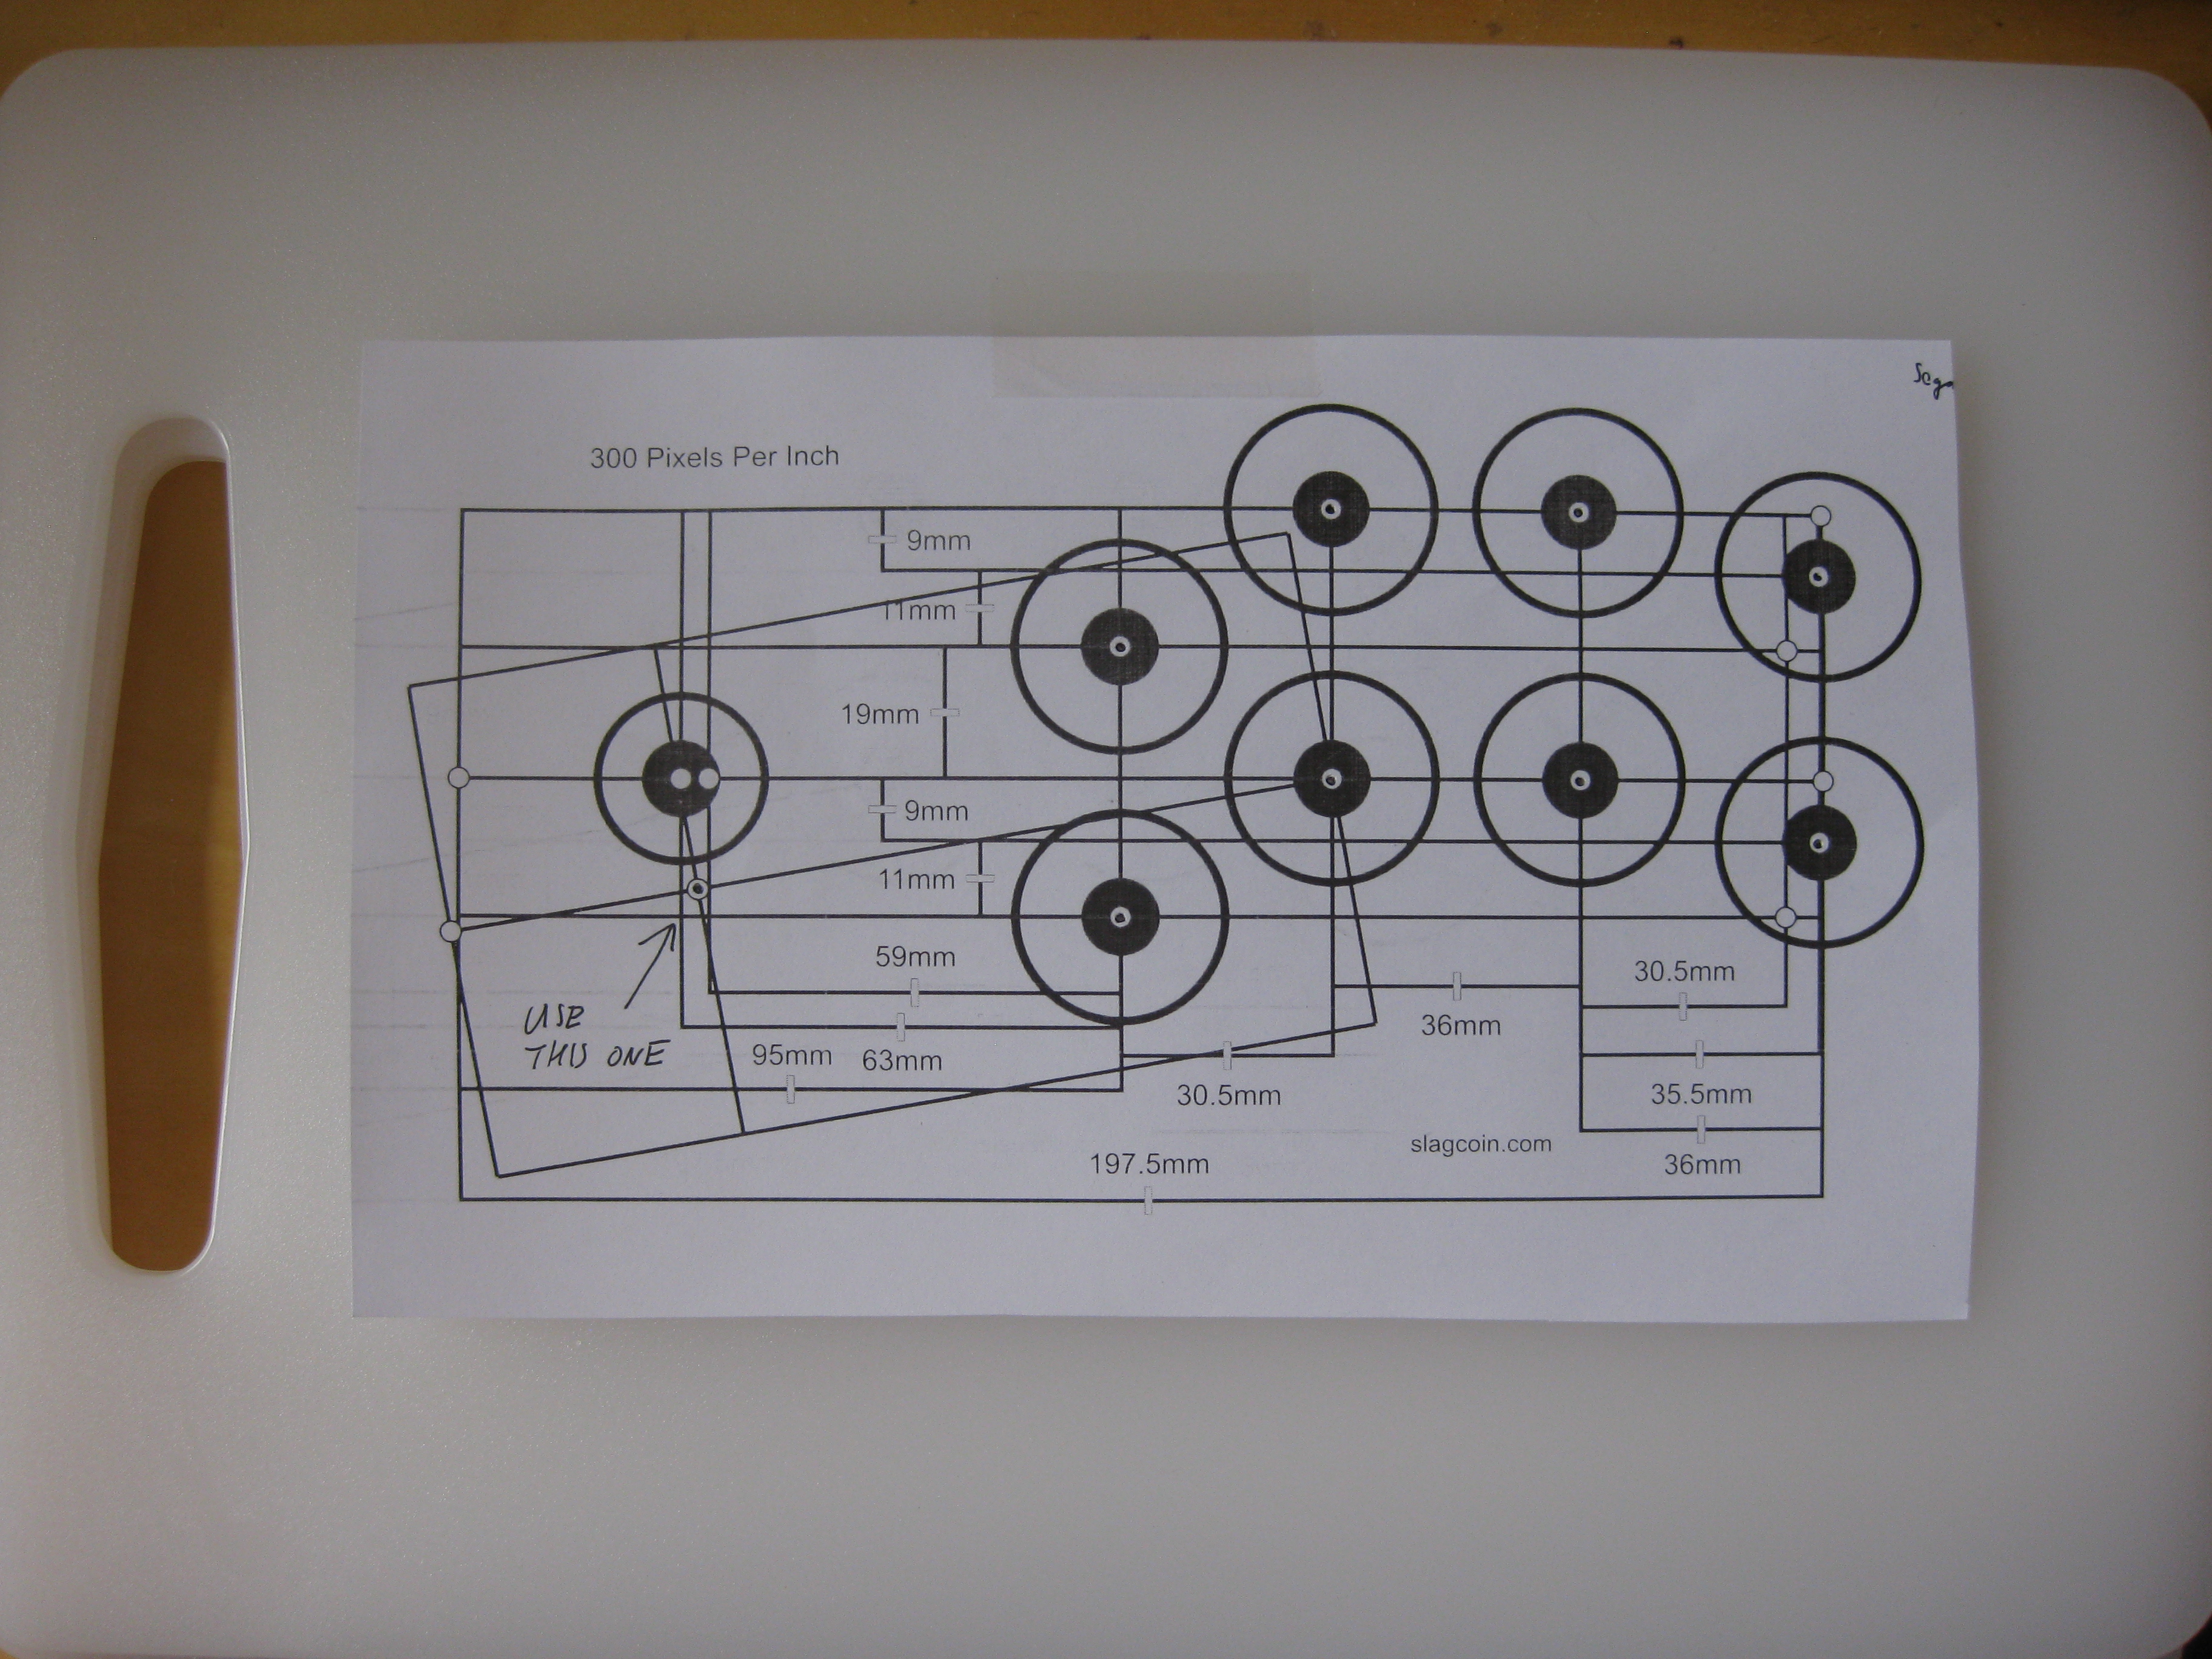
Even with trying the layout out on paper beforehand, it’s hard to tell what will work best. Having played with my Chop Box quite a bit now, I’m considering adjusting its layout slightly. It’s a bit of a nuisance to make and fit a new top board for my controller, but at least it’s possible and will only cost £2 for a new chopping board if I want to try it.
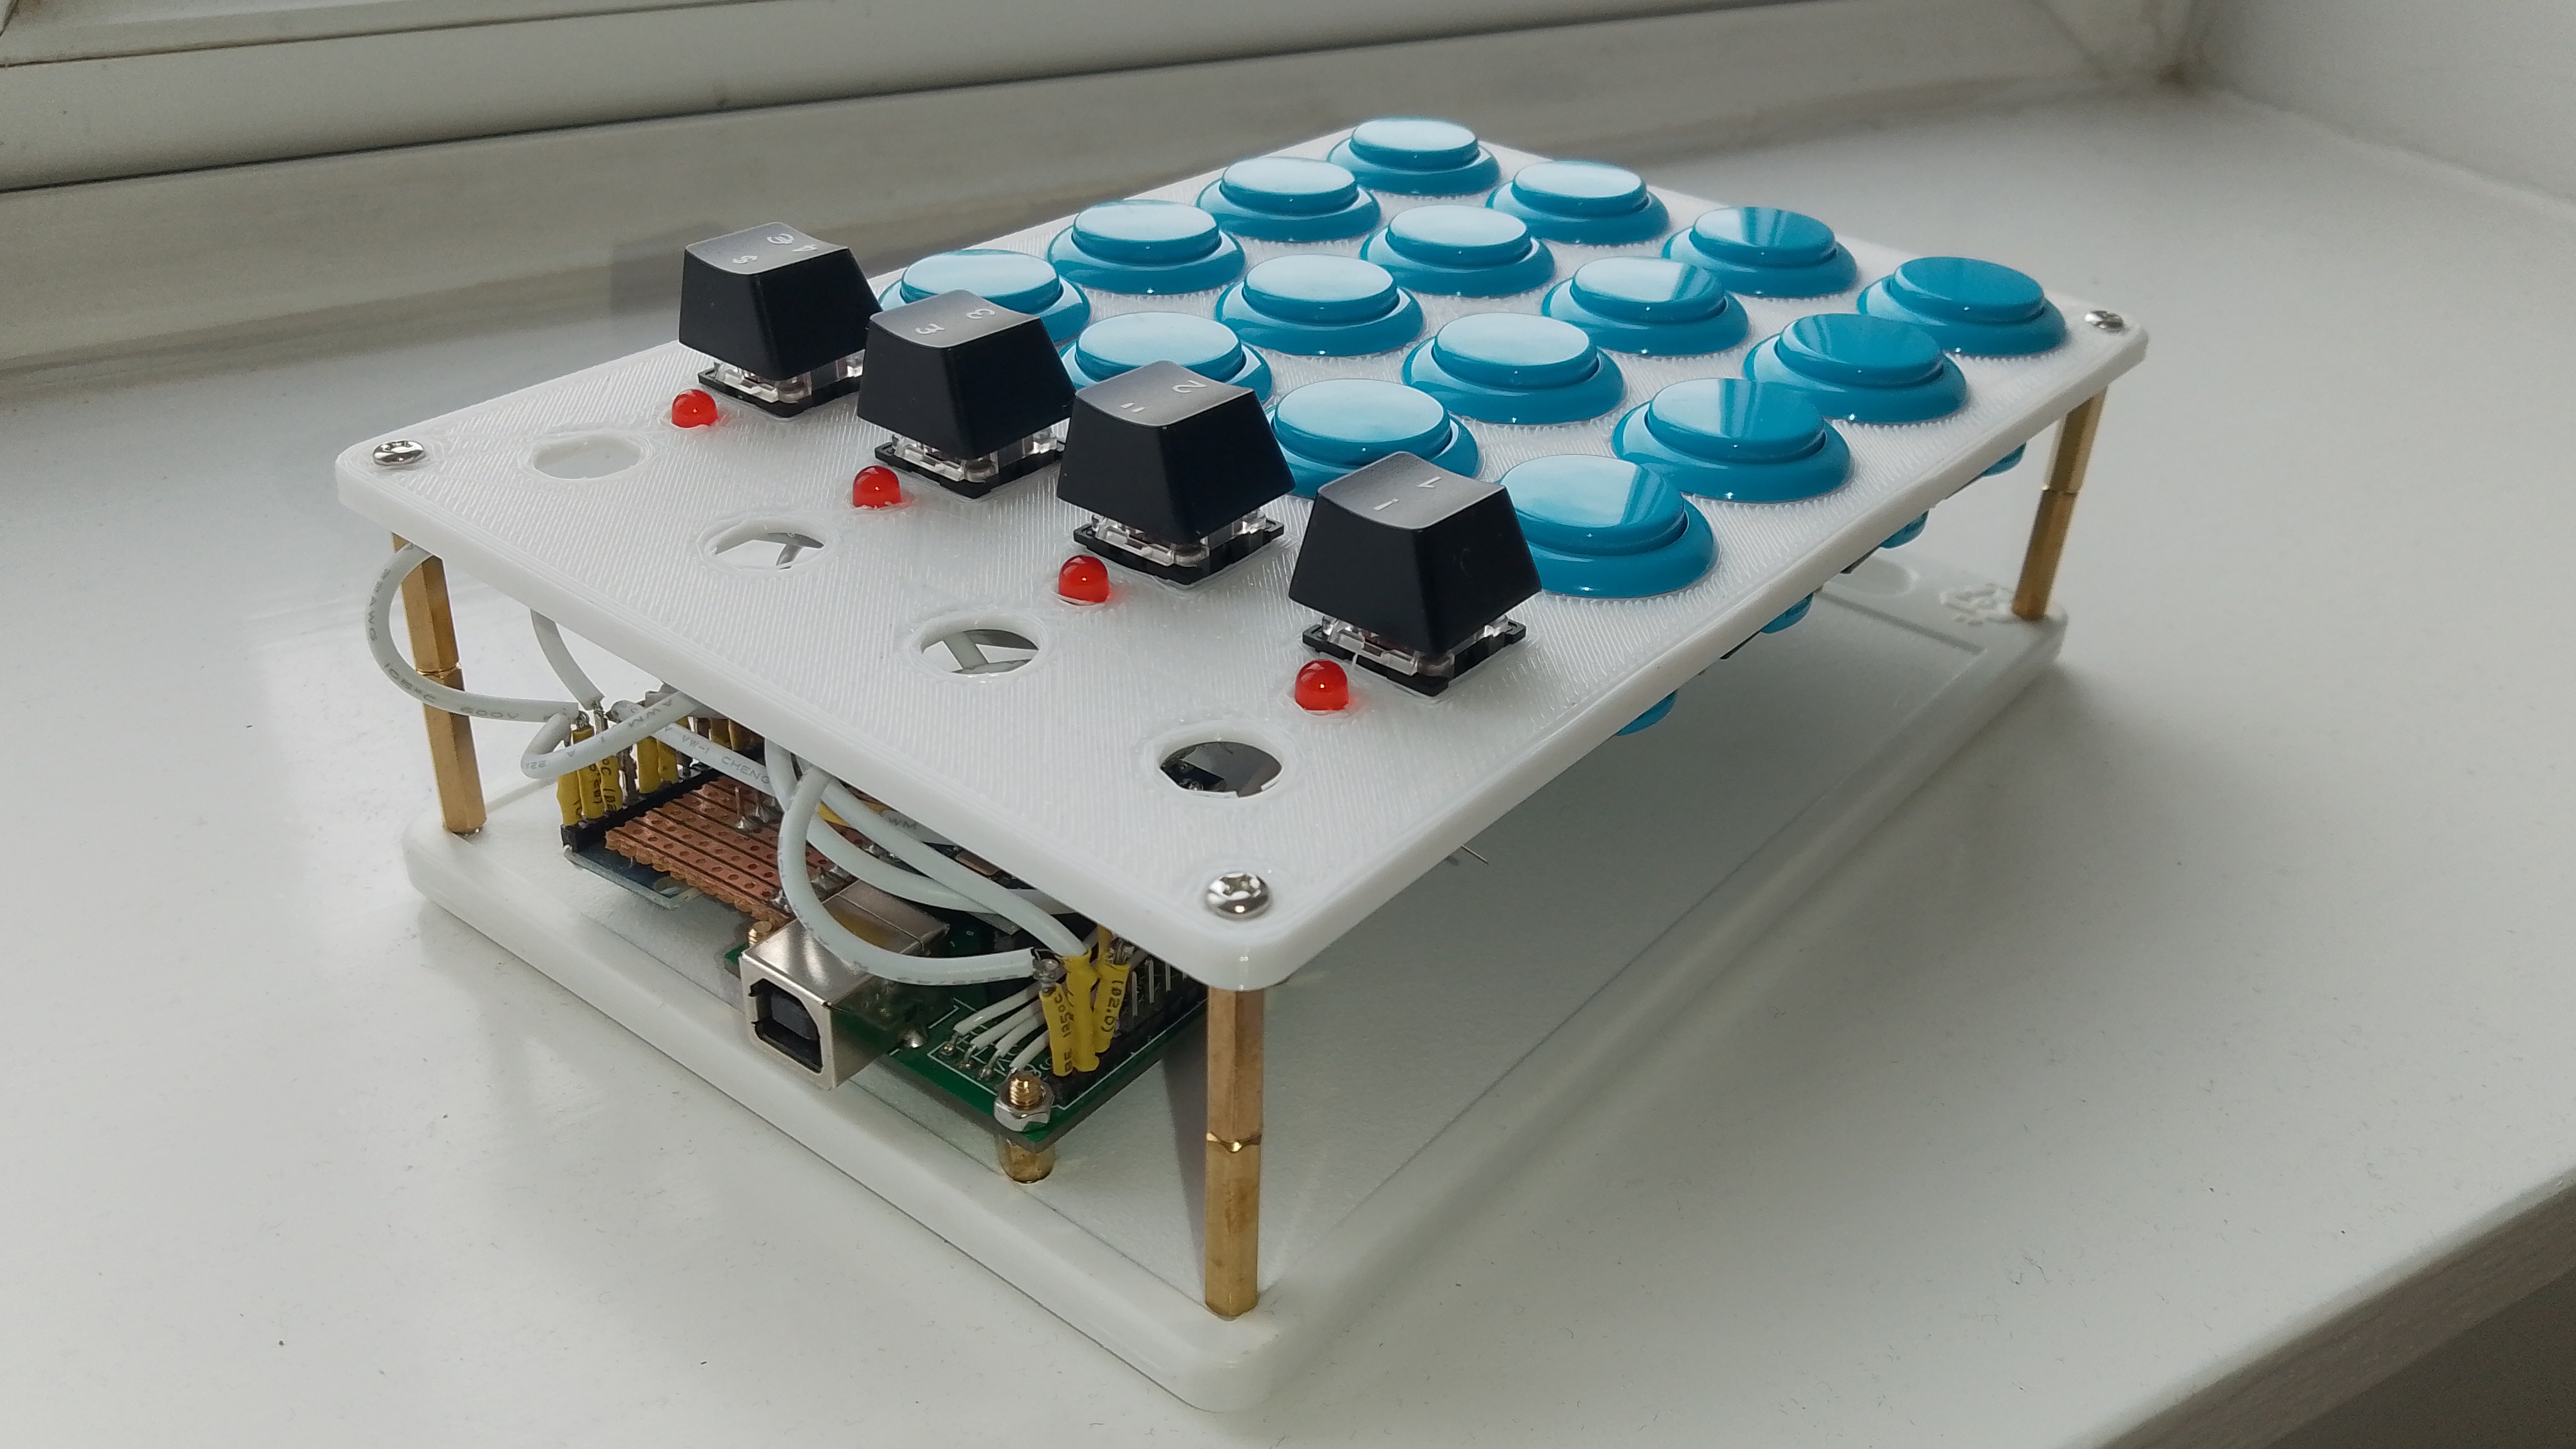
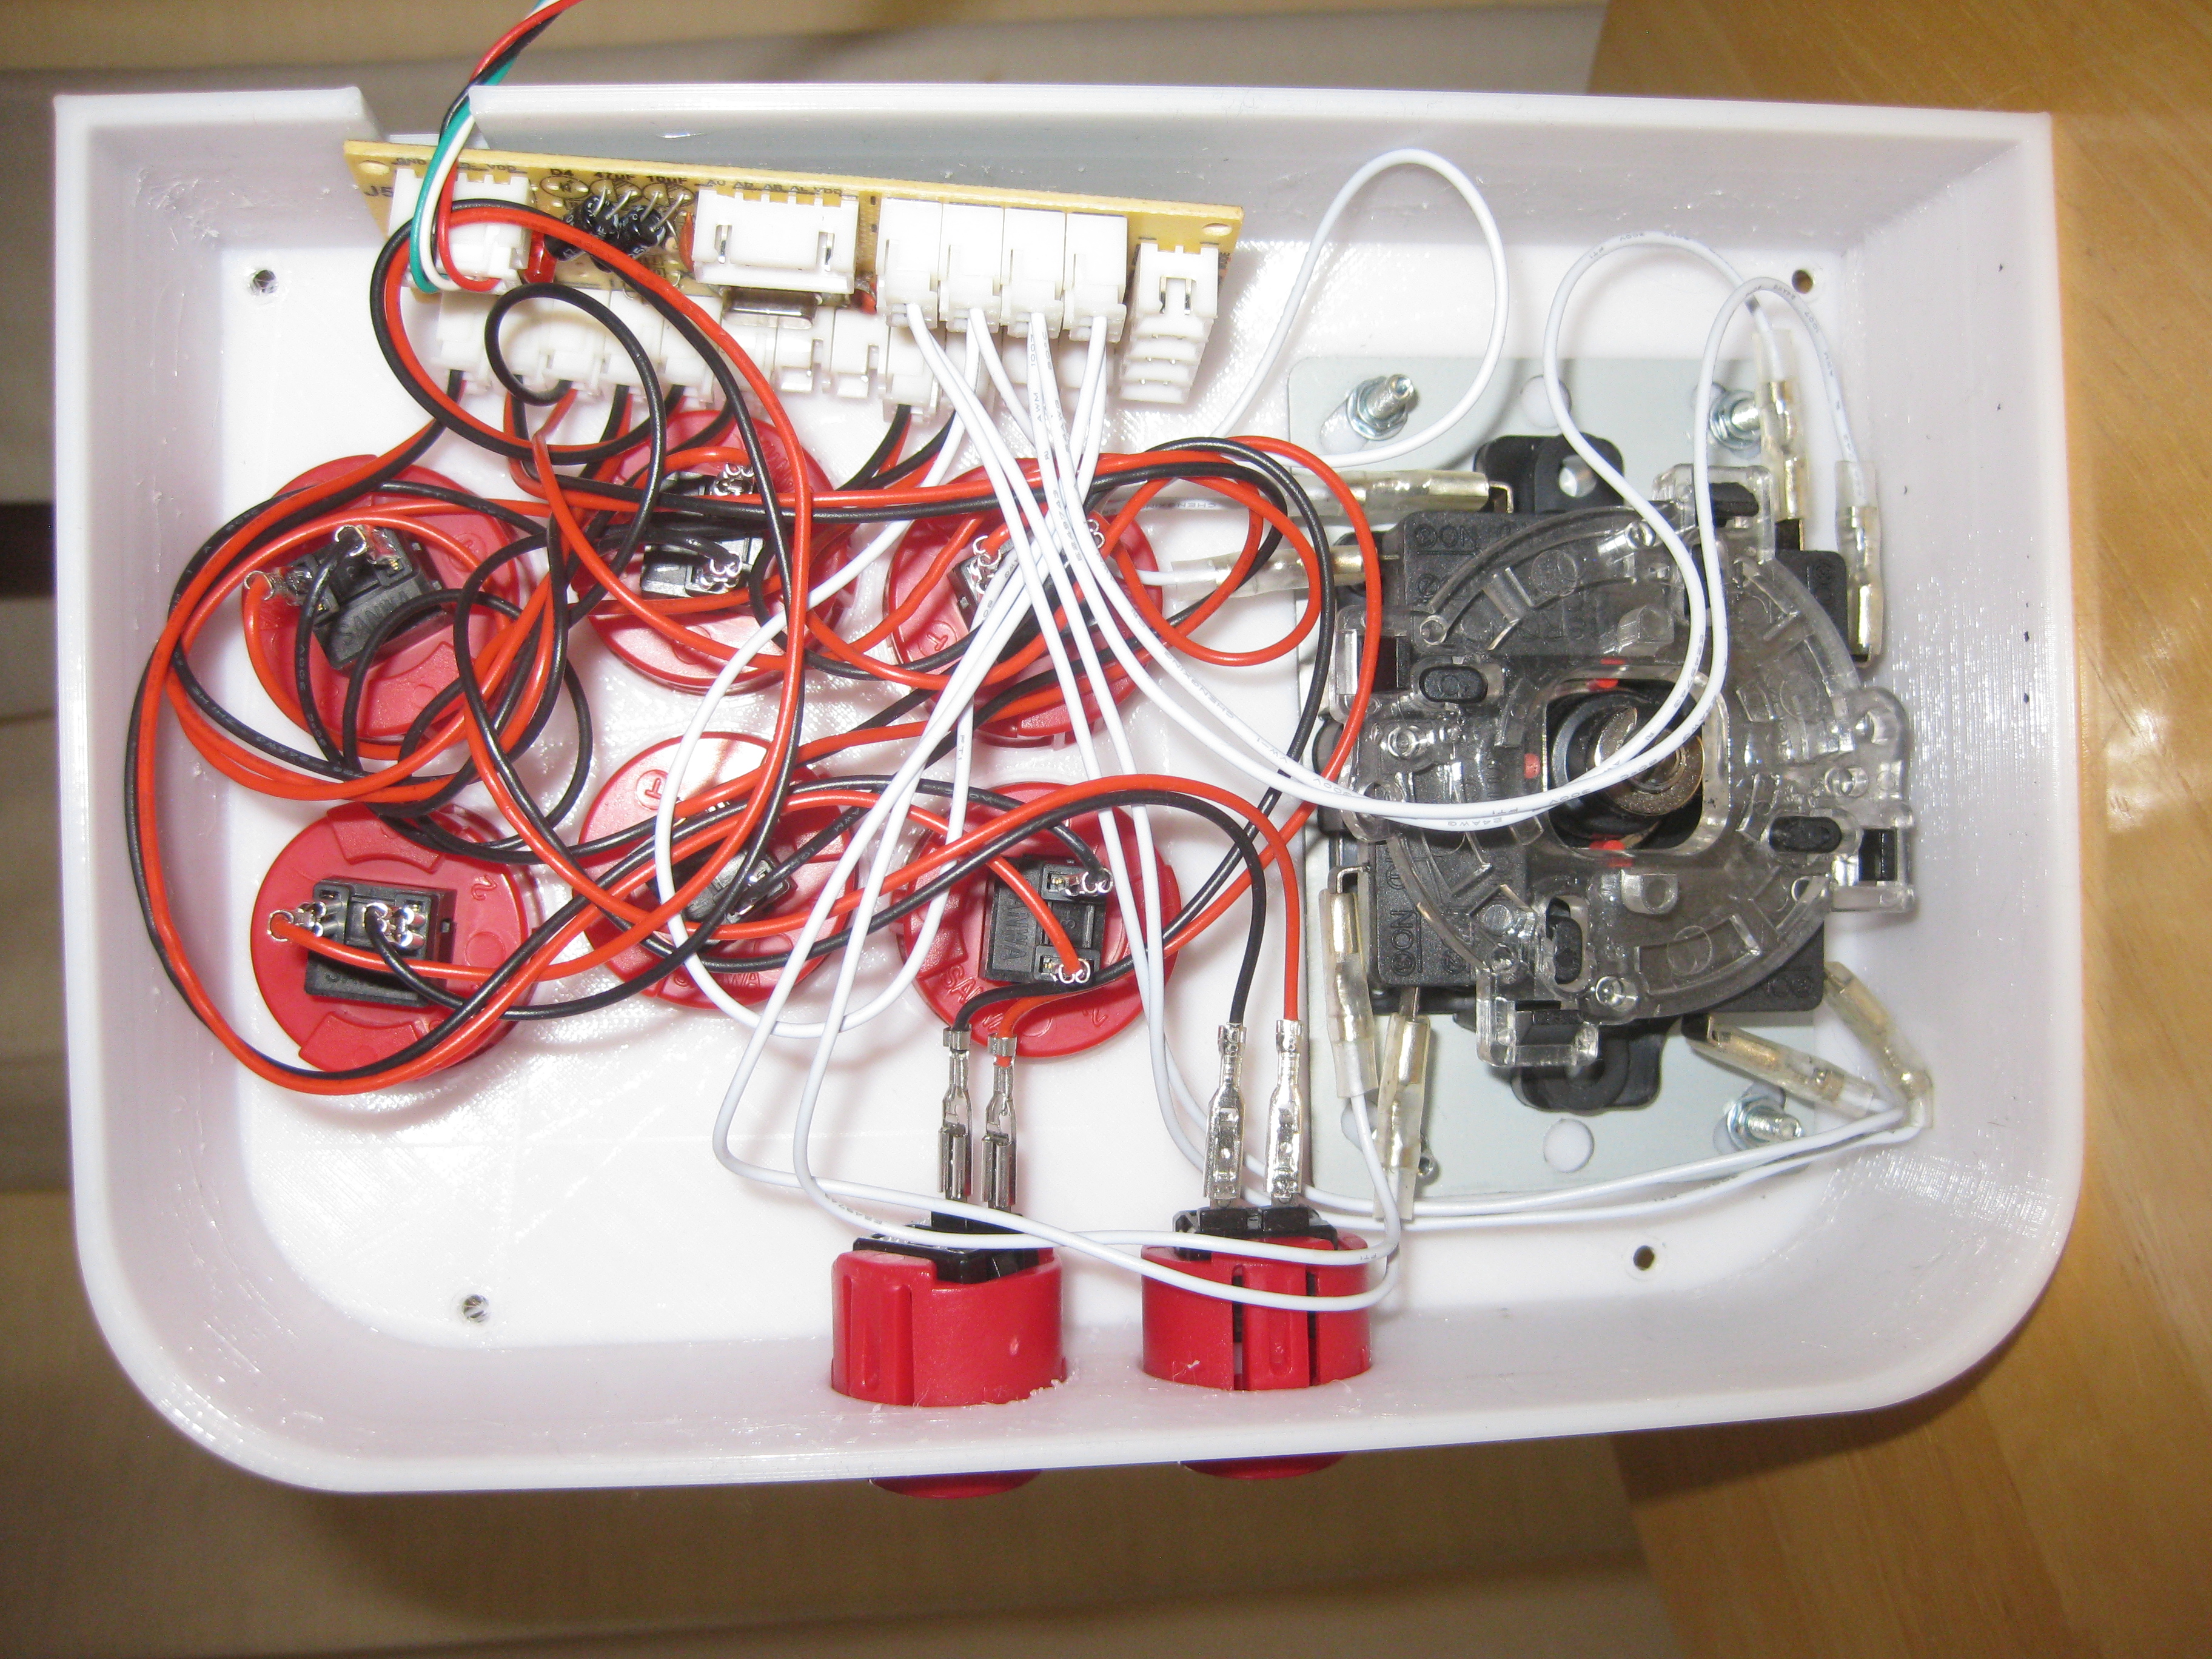
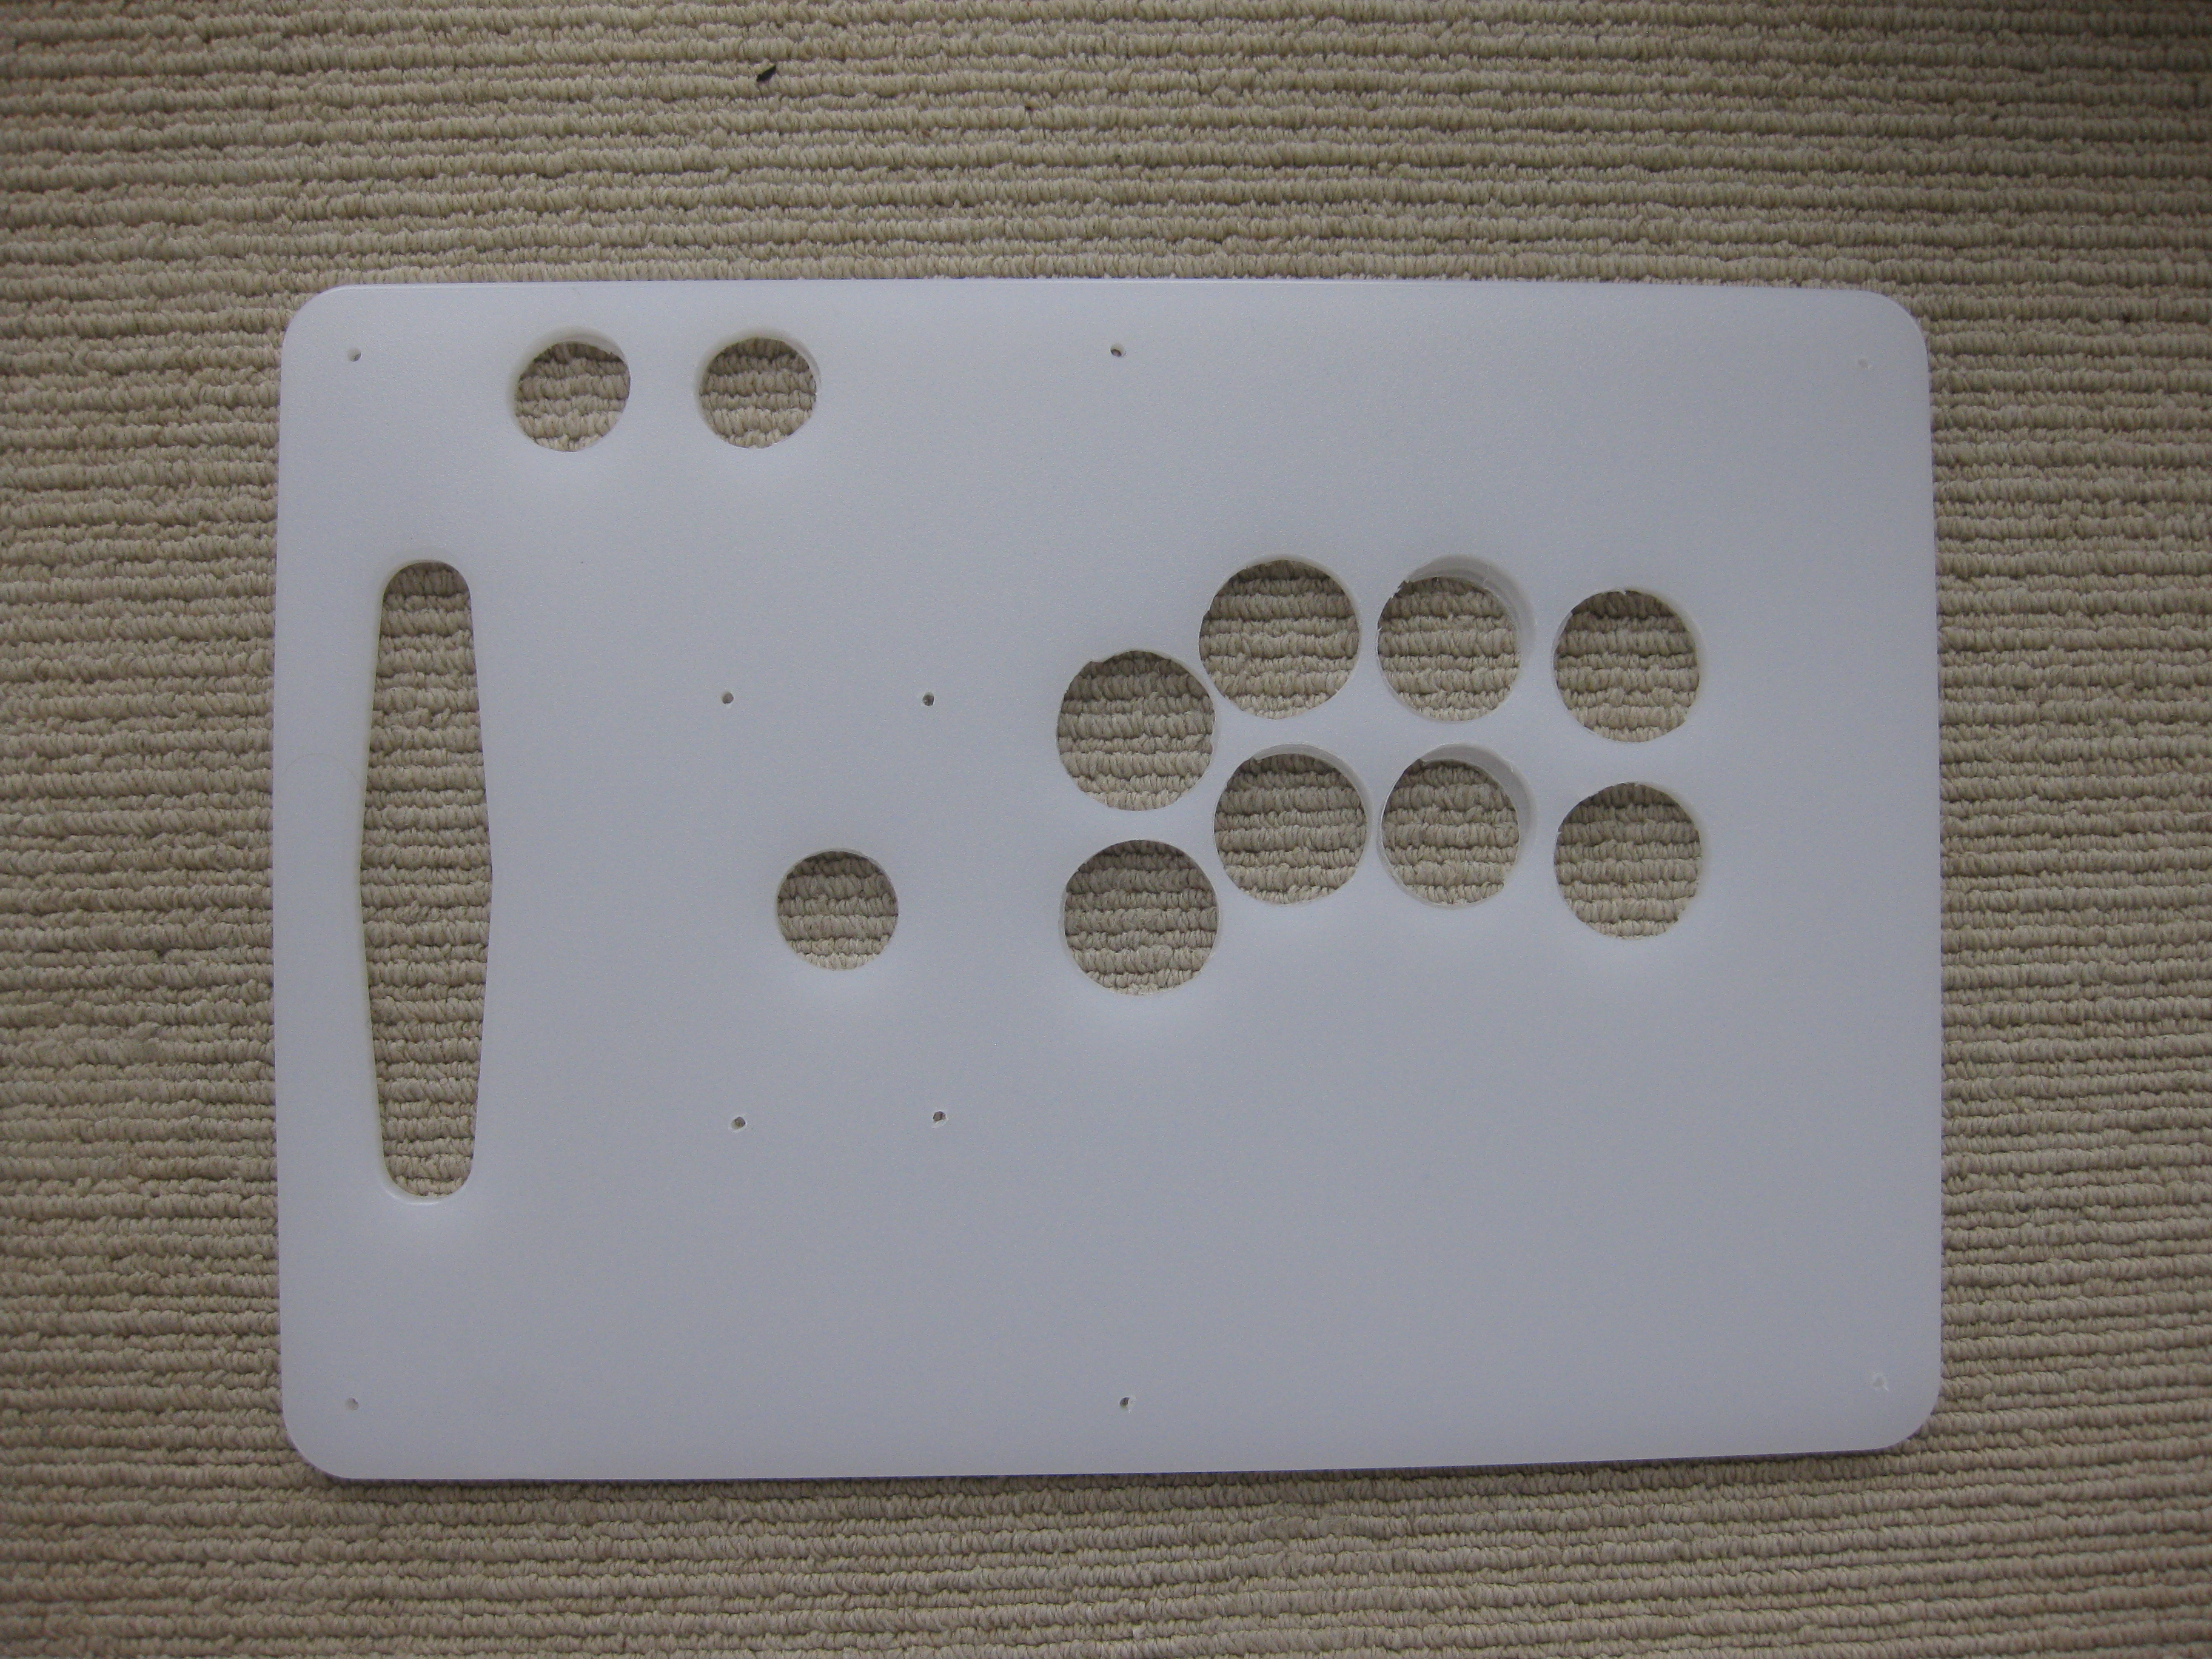
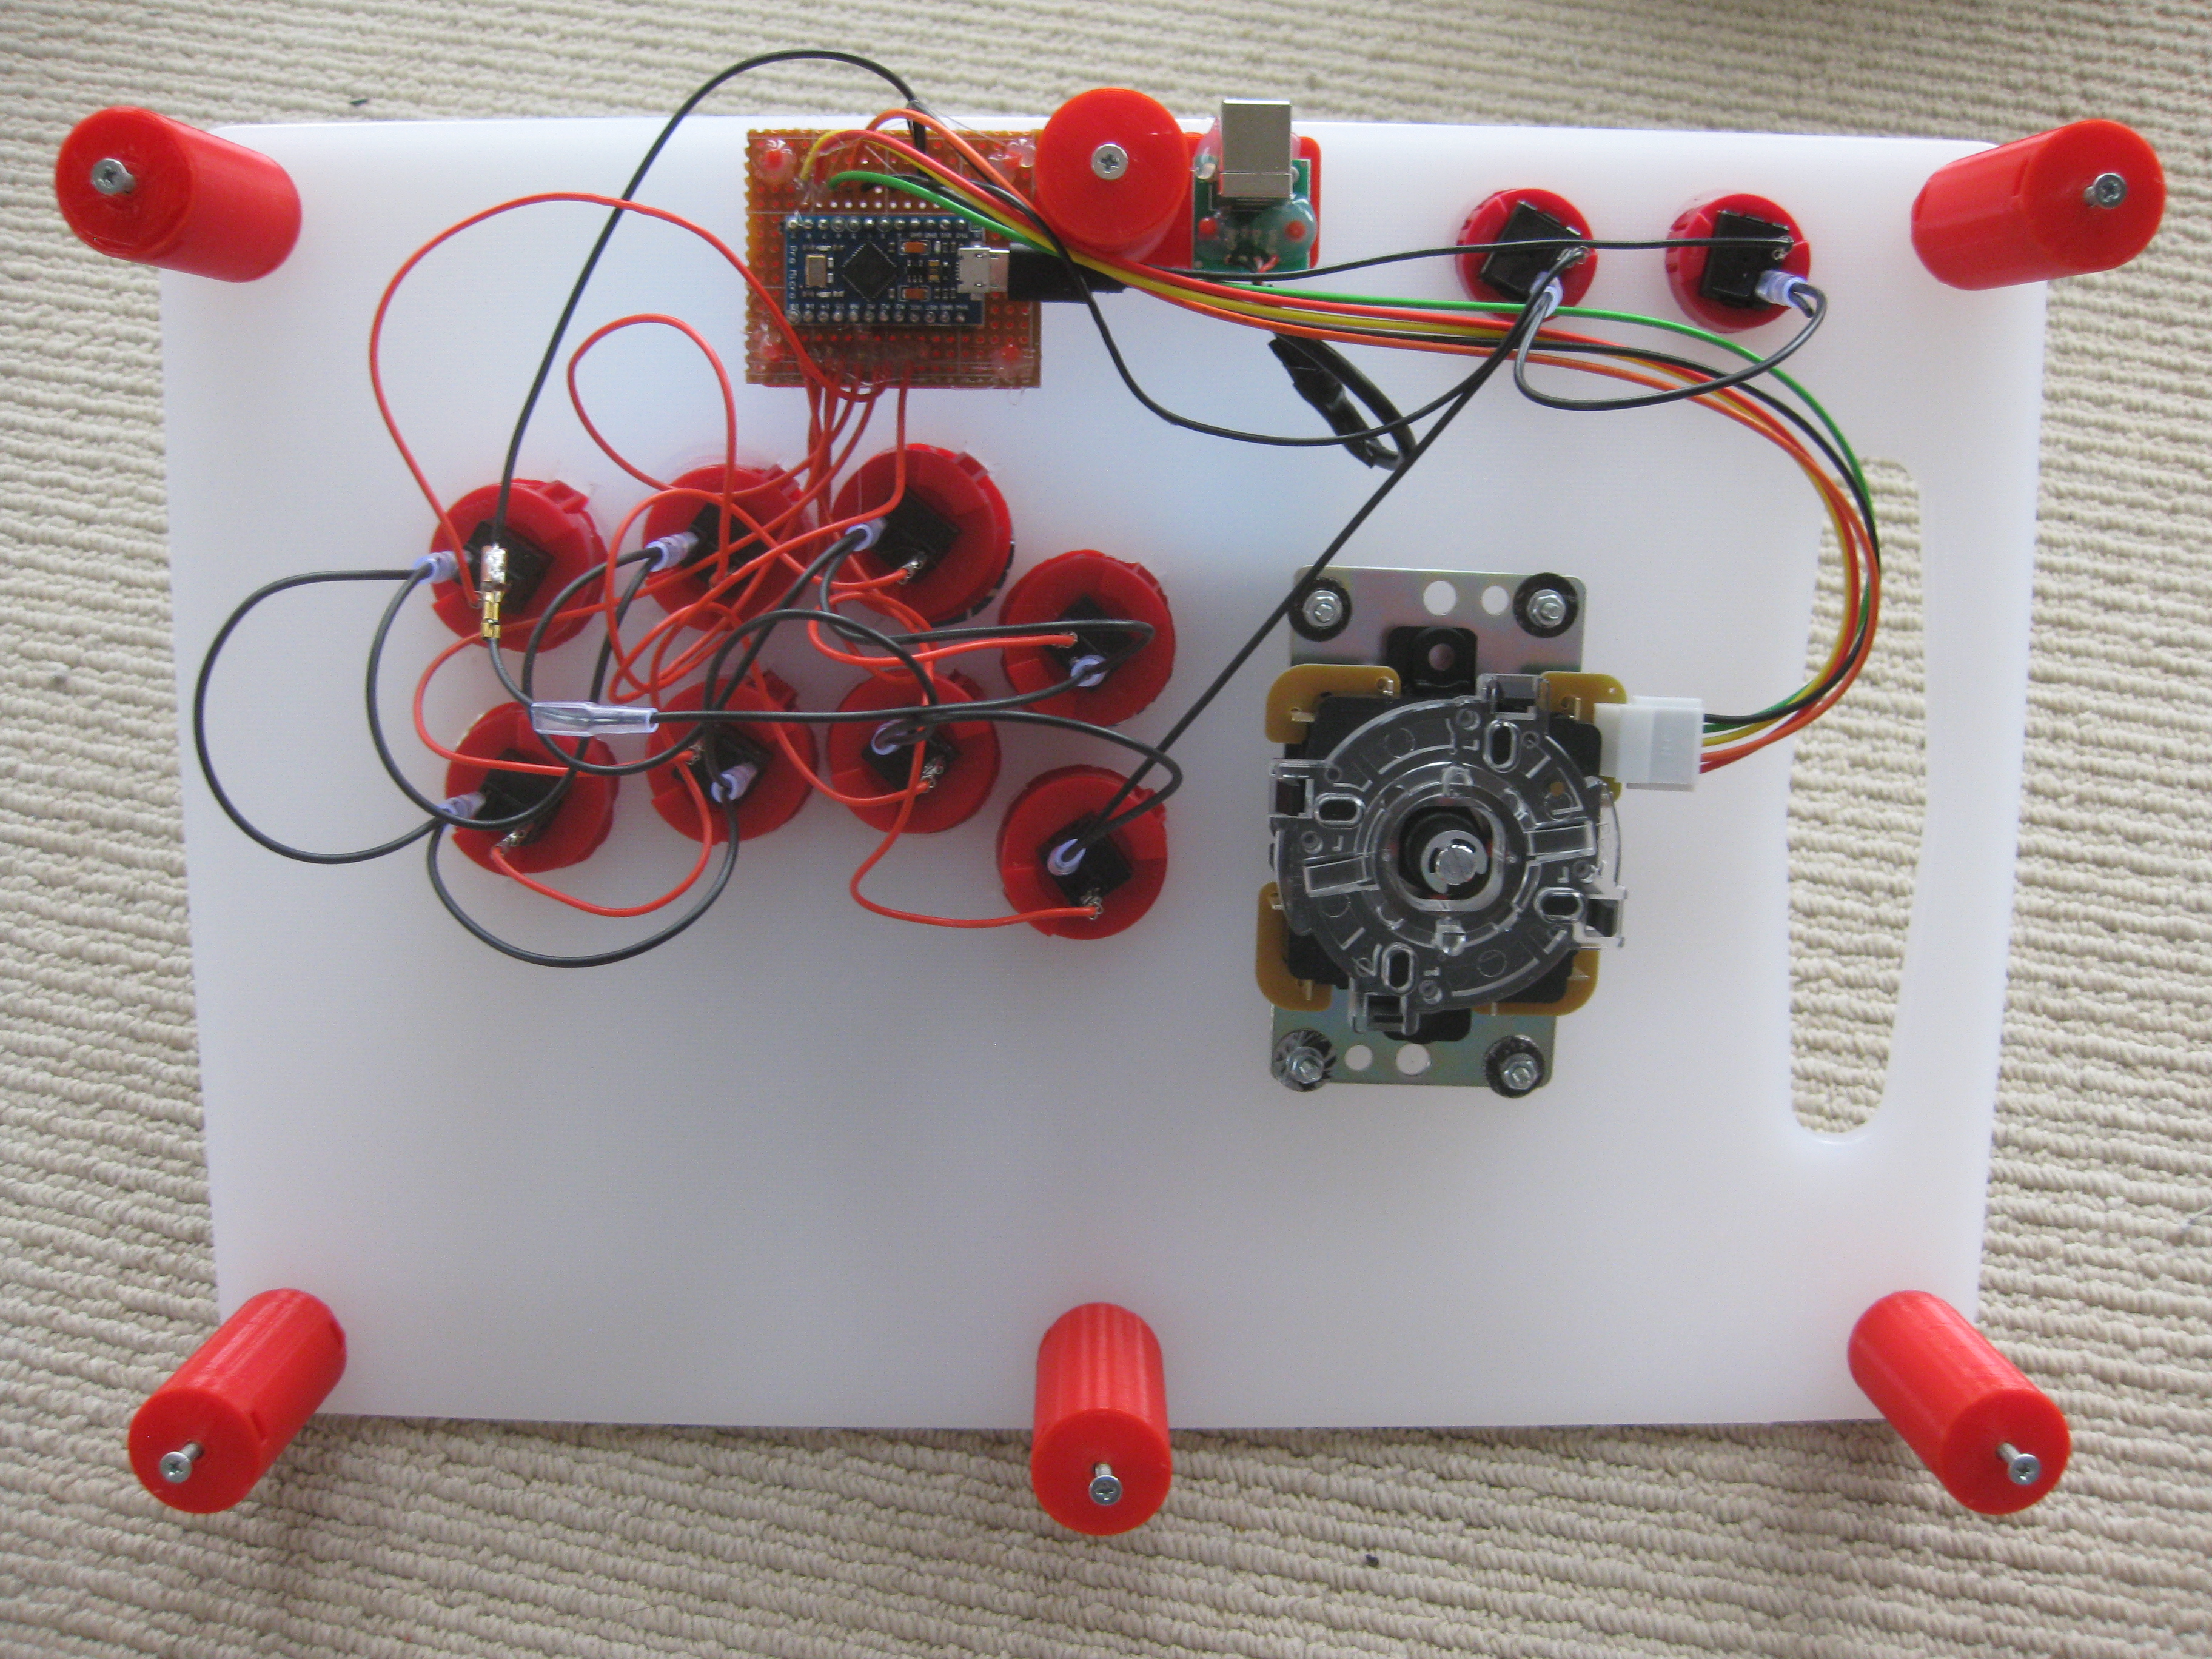
Assembling the parts is pretty straightforward. Again, there is more info in the Chop Box article. This time, I cut notches to help the buttons sit better in their holes.
Unfortunately as I don’t have a workbench or a good way to clamp the board in place while drilling, I did make a bit of a poor job of drilling a couple of the holes. Luckily the buttons still fit. I could re-do the top board but I thought I’d finish it off so that I could try it out to see how well the layout suited me.
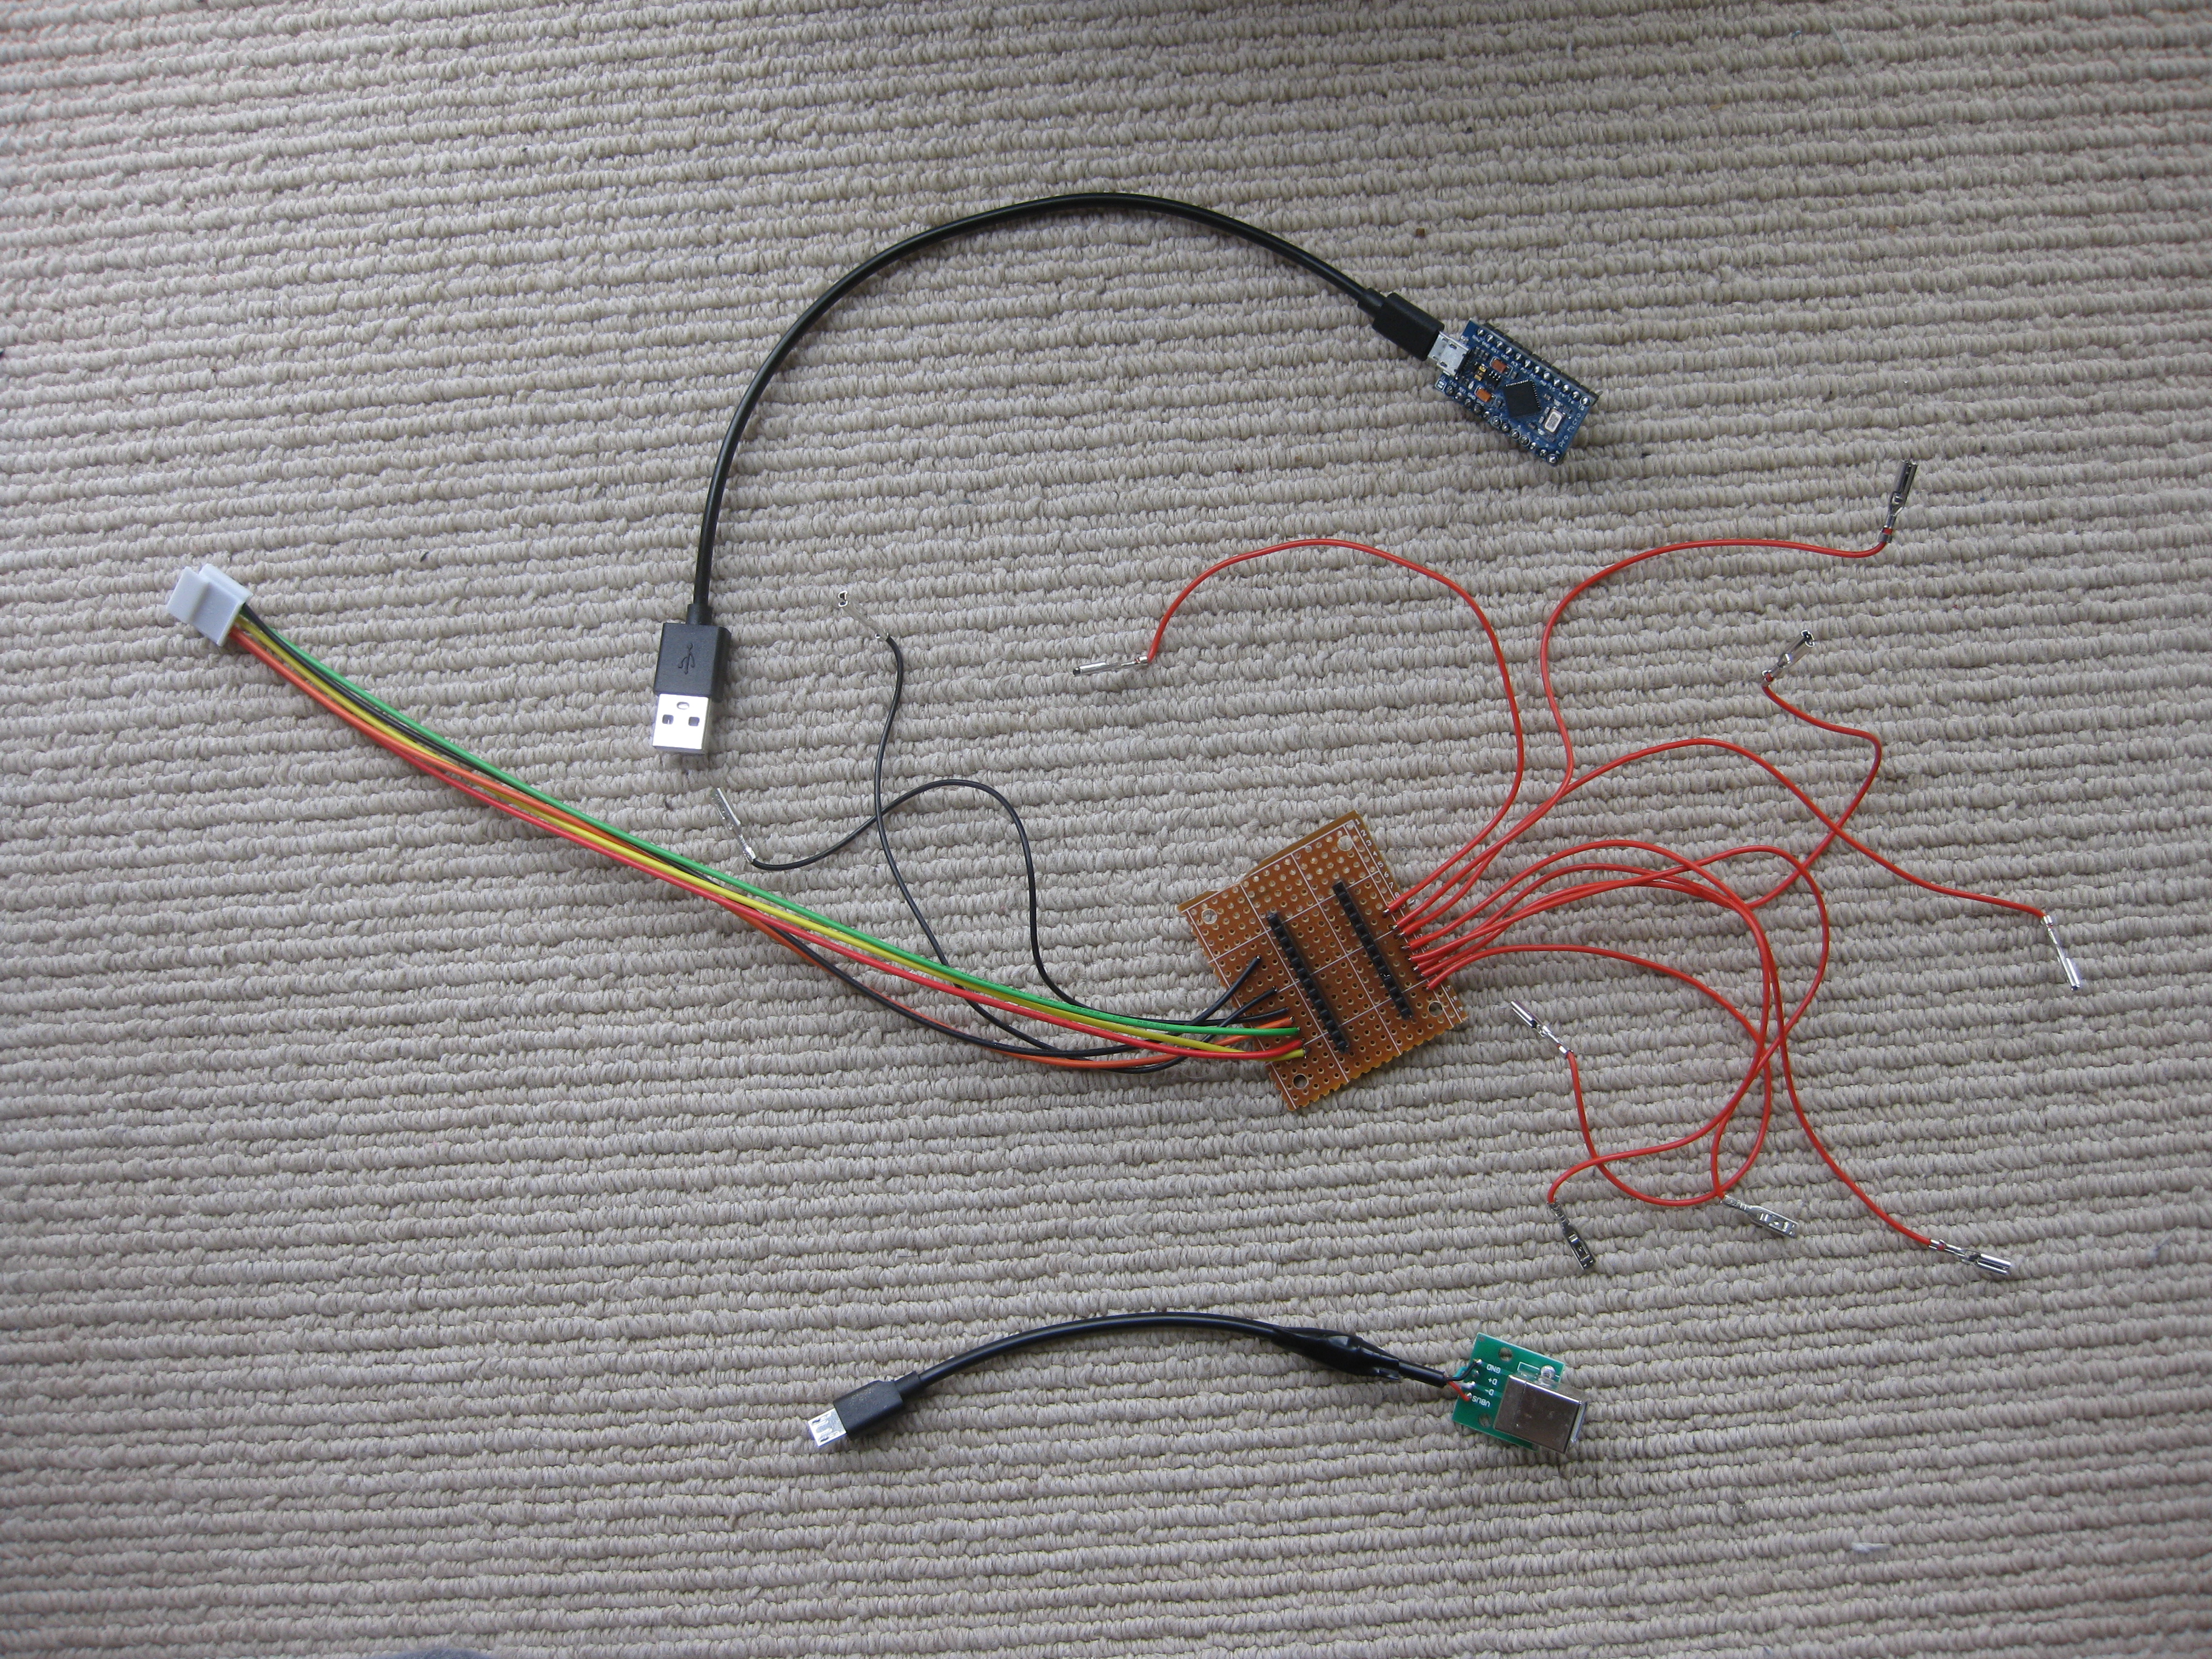
The electronic parts are identical to the ones in the Chop Box. This time, however, I bought a daisy chain wire harness and that made button installation a lot easier. For £3 it saved me a lot of messing about with crimp connectors and cutting wiring to length. I also bought the optional connector cable for the joystick
Assembling the case and mounting the stick and buttons is easy. I used countersunk screws so that they sit slightly below the top surface of the board. This is the part of the design I am less happy with, as the screws are quite near the joystick where my hands go. I’m also not sure how I could go about attaching custom artwork to this controller design. Colour-coordinated case supports is the nearest I got to an artistic touch this time.
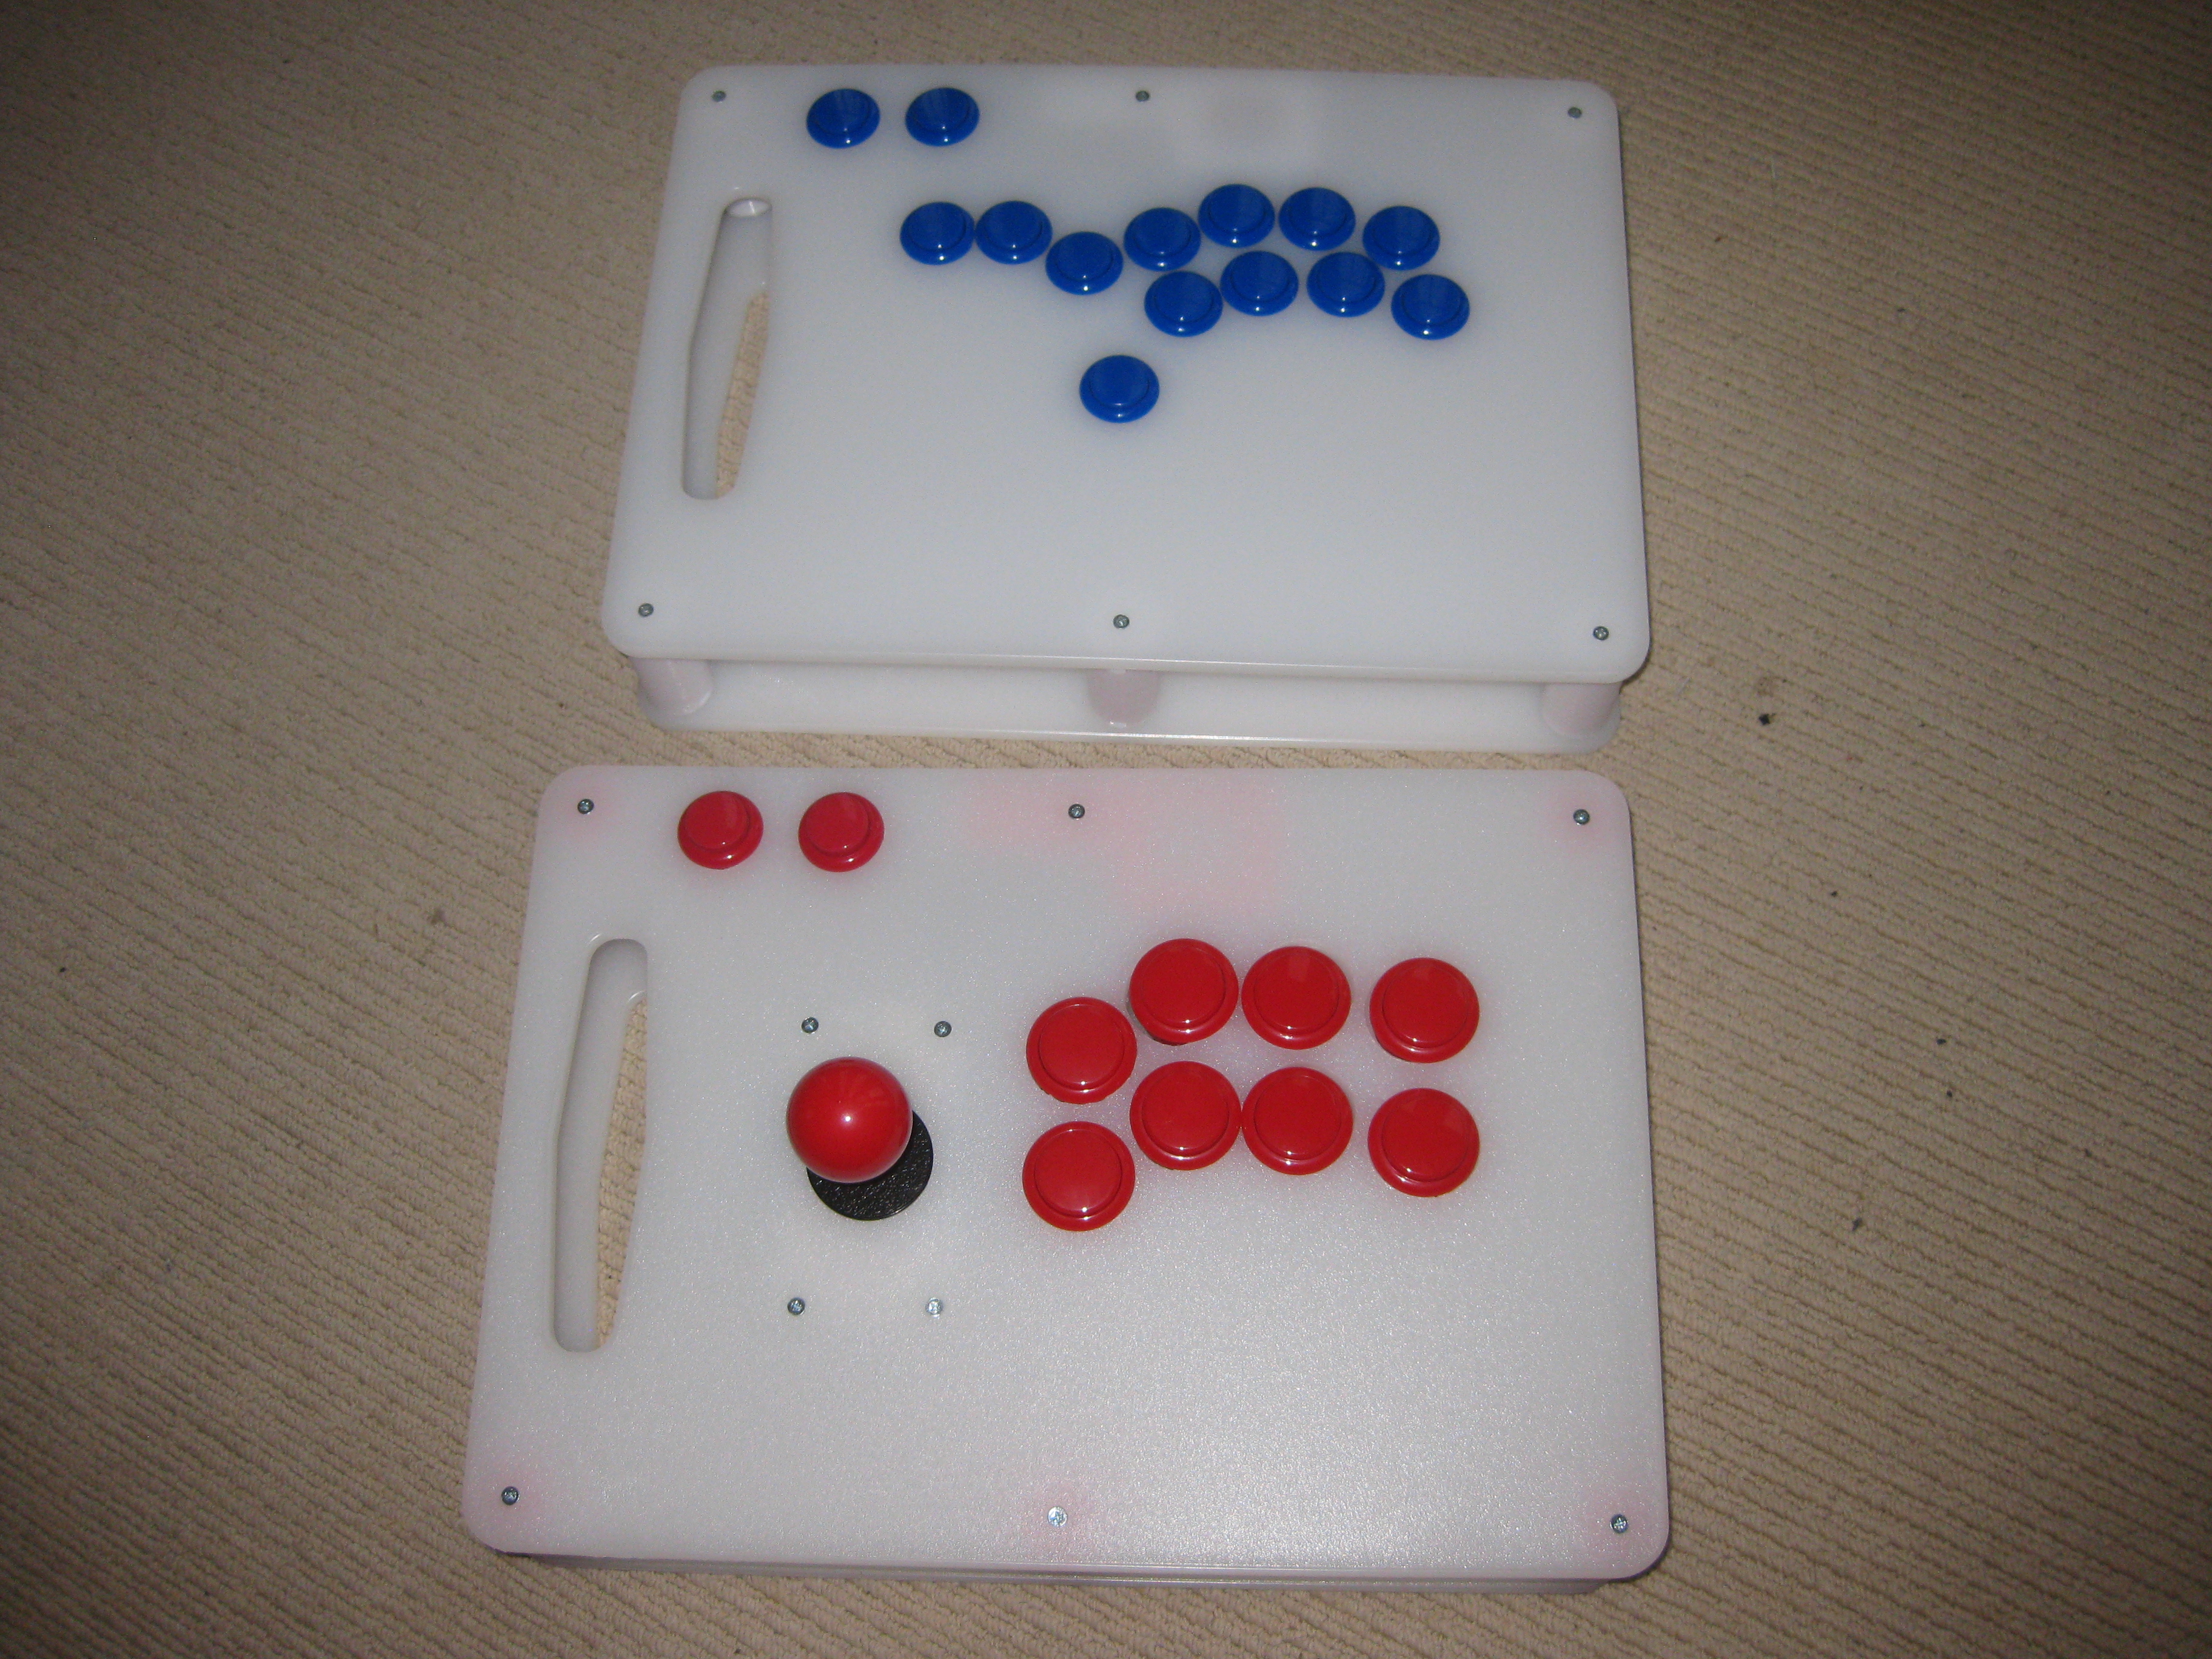
Here’s how the Chop Box and the Chopstick compare:
The Stick and Box are a cheap and easy way to make your own custom fightstick. Although the design requires a 3D printer, I’m sure you could make the posts out of PVC pipe as an alternative. The PTFE boards are very easy to cut and drill, so you don’t need special tools beyond a drill that can cut the right size holes. Despite the low cost of the case, it is far sturdier than many of the cheaper cases on the market. And best of all, it comes with a convenient carrying handle!