Creating Game Graphics in Inkscape
Inkscape is an Open Source vector graphics editor. I was introduced to its use in game graphics design by the articles on Chris Hildenbrand’s excellent blogsite on 2d game art for programmers.
What follows is not a guide to creating your graphics, but a set of instructions for getting your finished graphics out of Inkscape into a form your game engine will be able to understand. In a later article I’ll be going further into using Inkscape as a tool for game development.
Steps:
1) Create your graphics - no need to worry too much about sizes, but you might want to get proportions and aspect ratios correct. You may also need to consider the final size you want your artwork to appear at at this stage, although following the steps in this article ought to help you with that.
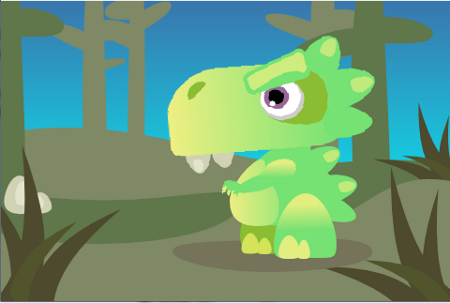
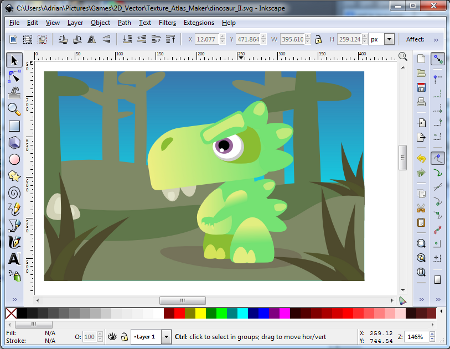
Here’s what I’ll be working with - a cute dinosaur that I created, following Chris Hildenbrand’s excellent tutorial here.
You may want to follow the remaining steps in a backup copy of your work in order to protect the original.
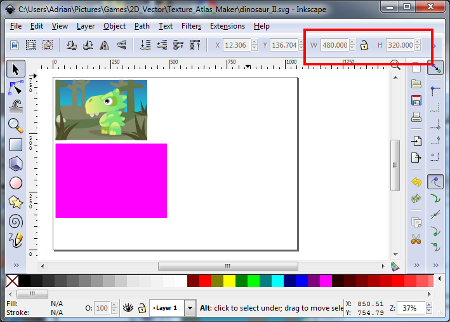
2) Decide what screen size you want your final output to be or how big you want your bitmaps to be and create a rectangle that matches that size. Use the W and H boxes to specify the exact dimensions in pixels
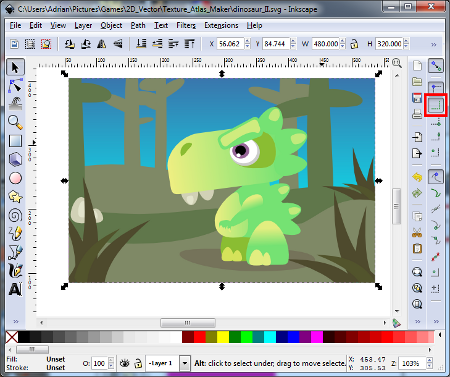
3) Resize your content to fit over the rectangle. I used the “Snap to edges of a bounding box” setting to ensure an exact fit
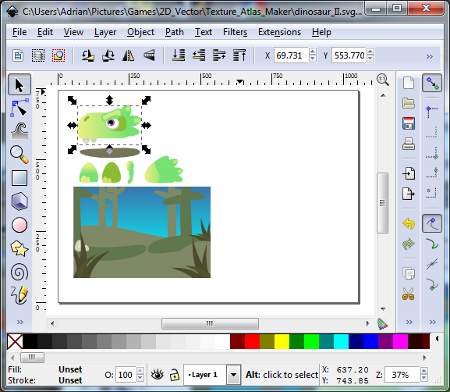
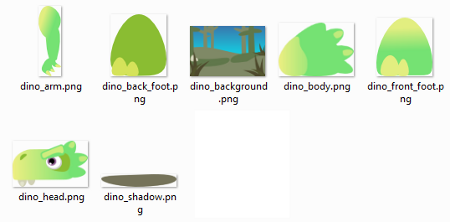
4) Separate your content into the components you would like to export. Use the Group command to group each component into a single group. I rotated some of mine to make more efficient use of space. Obviously you should only do this if your game engine is going to be able to rotate the bitmaps back into the correct orientation.
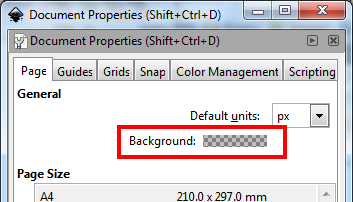
5) If you want to export your graphics with a transparent background then open Document Properties and make sure the Background is set to transparent
Select each component in turn and choose Export Bitmap, specifying the Selection as the Export Area. Give your bitmap a suitable filename, and optionally check the “Hide all except selected” box to prevent any of the other components appearing in the background of your bitmap if you’ve accidentally overlapped any of them.
Leave the size settings alone as you’ve already sized your components correctly in step 3.
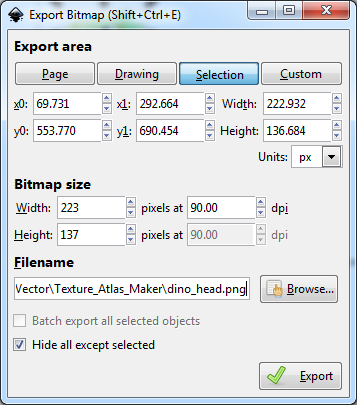
Alternatively you can use the “Batch export all selected objects” checkbox and do this step all in one go. If you’ve already previously exported your components then Inkscape will remember the filenames you chose and use them again for the batch export.
6) Your components are now ready for re-assembly in your game engine
Here is a simple Flash application (written in Action Script using FlashDevelop) to show my dinosaur in action.